No-Bake Chocolate Peanut Butter Oat Cups Recipe
Introduction
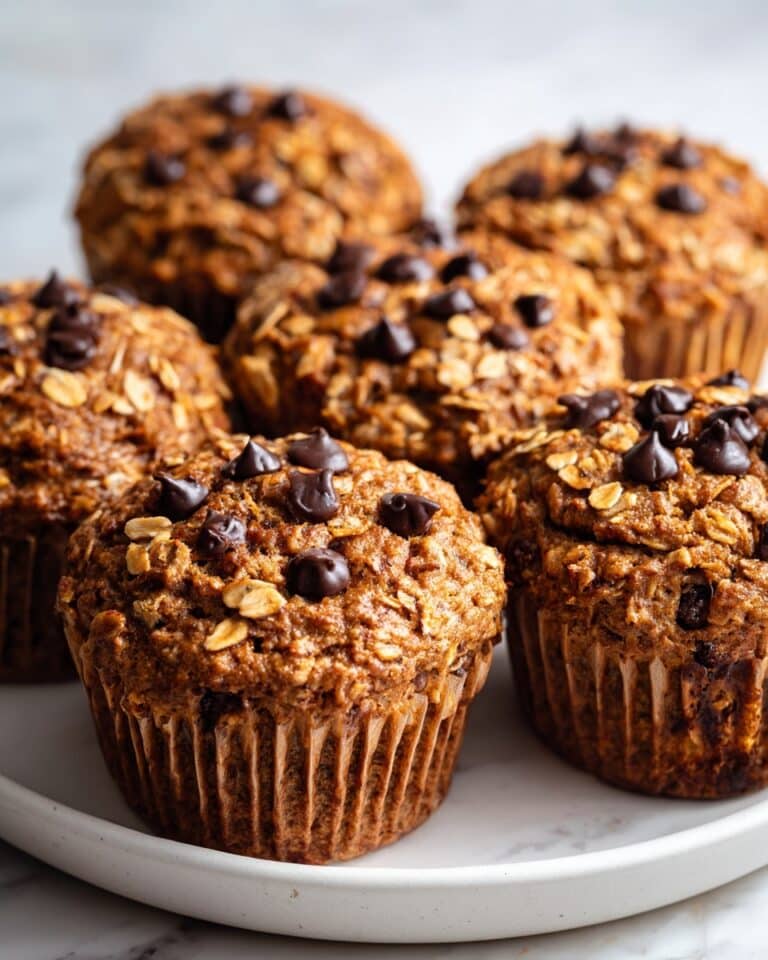
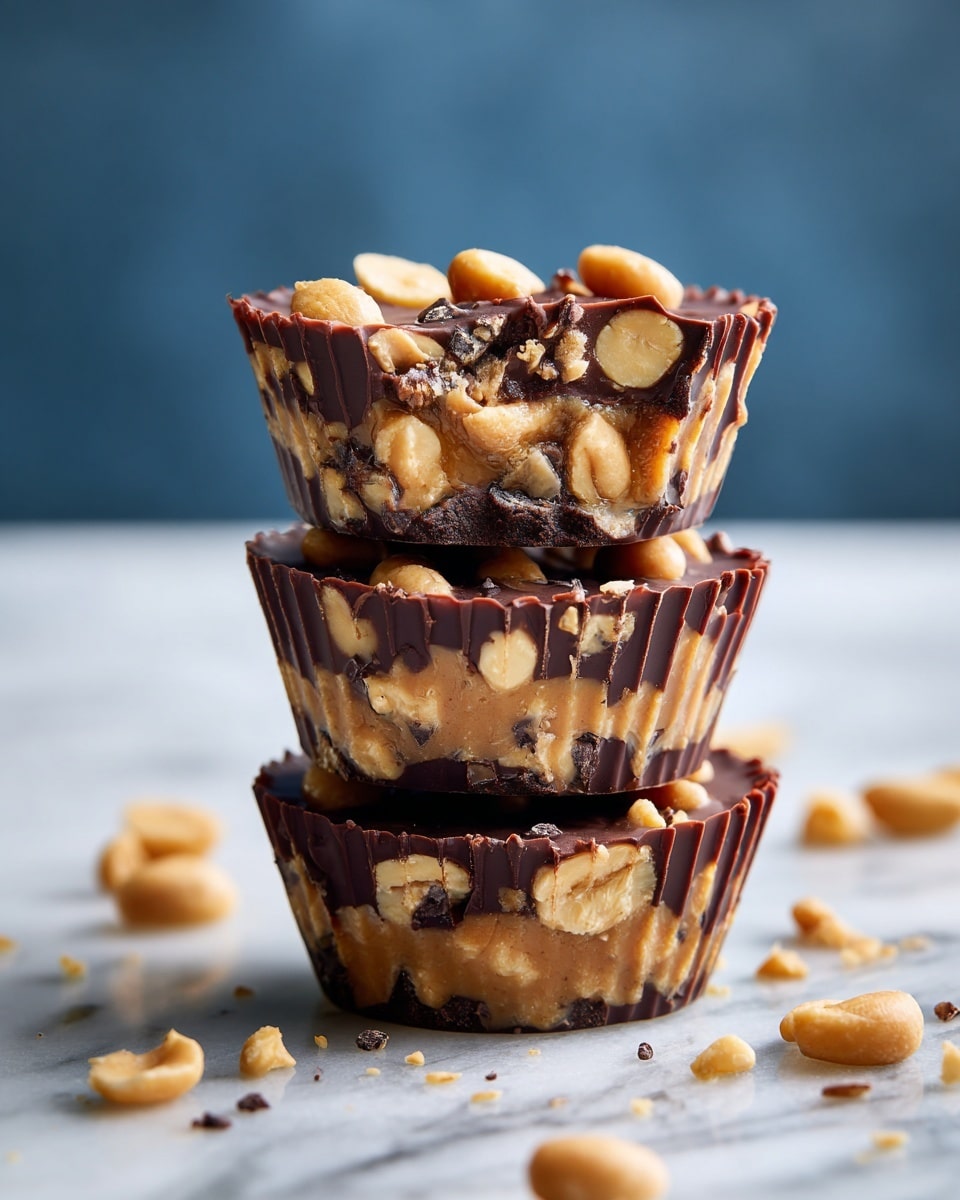
These No-Bake Chocolate Peanut Butter Oat Cups are a perfect no-fuss treat when you want something delicious without heating up the kitchen. Combining creamy peanut butter, hearty oats, and rich chocolate, they come together quickly and satisfy every sweet tooth. Plus, they’re loved by kids and adults alike!
Ingredients
- 2 cups rolled oats (old-fashioned, not quick-cooking)
- 1 cup creamy peanut butter (natural, well stirred)
- 1/2 cup honey (or maple syrup for vegan version)
- 1/4 cup coconut oil, melted (butter can be used)
- 1 teaspoon vanilla extract
- 1/4 teaspoon fine sea salt
- 1 1/2 cups semisweet chocolate chips
- 2 tablespoons coconut oil (for chocolate topping)
- Pinch of flaky sea salt (optional, for sprinkling)
Instructions
- Step 1: Line a 12-cup muffin tin with parchment cupcake liners and lightly grease each liner with coconut oil or nonstick spray.
- Step 2: In a medium bowl, mix rolled oats, peanut butter, honey, melted coconut oil, vanilla extract, and sea salt until the mixture forms a dough-like batter. Adjust by adding peanut butter if too dry or oats if too sticky.
- Step 3: Press about 2 tablespoons of the oat mixture firmly into the bottom of each lined muffin cup, creating an even layer about 1/4 to 1/3 inch thick.
- Step 4: Freeze the muffin tin for 10 minutes to set the oat base firmly before adding chocolate.
- Step 5: Melt chocolate chips and coconut oil together in 20-second microwave intervals, stirring between each, until smooth. Alternatively, use a double boiler on the stovetop.
- Step 6: Remove the muffin tin from the freezer and spoon about 1 tablespoon of melted chocolate over each oat cup. Spread gently and sprinkle flaky sea salt if using.
- Step 7: Chill in the refrigerator for at least 30 minutes (or up to 1 hour) until the chocolate layer is firm.
- Step 8: Once set, carefully peel the cups out of the liners and enjoy. Store leftovers in the refrigerator.
Tips & Variations
- Use parchment cupcake liners for easy removal – they peel off cleanly without sticking.
- Swap peanut butter for almond, cashew, or sunflower seed butter for different flavors or nut-free versions.
- For a vegan option, substitute honey with maple syrup and choose vegan chocolate chips.
- Add 1/4 cup chopped nuts to the oat layer or sprinkle crushed nuts on top of the chocolate for extra crunch.
- Try white chocolate with a teaspoon of lemon zest instead of semisweet for a bright twist.
- Let the cups sit at room temperature for 5–10 minutes before serving to soften the chocolate and enhance flavor.
Storage
Store these oat cups in an airtight container in the refrigerator for up to 2 weeks. They also freeze well—freeze individually on a baking sheet, then transfer to a freezer bag for up to 3 months. Eat them straight from the freezer for a refreshing treat or thaw briefly at room temperature before enjoying.
How to Serve
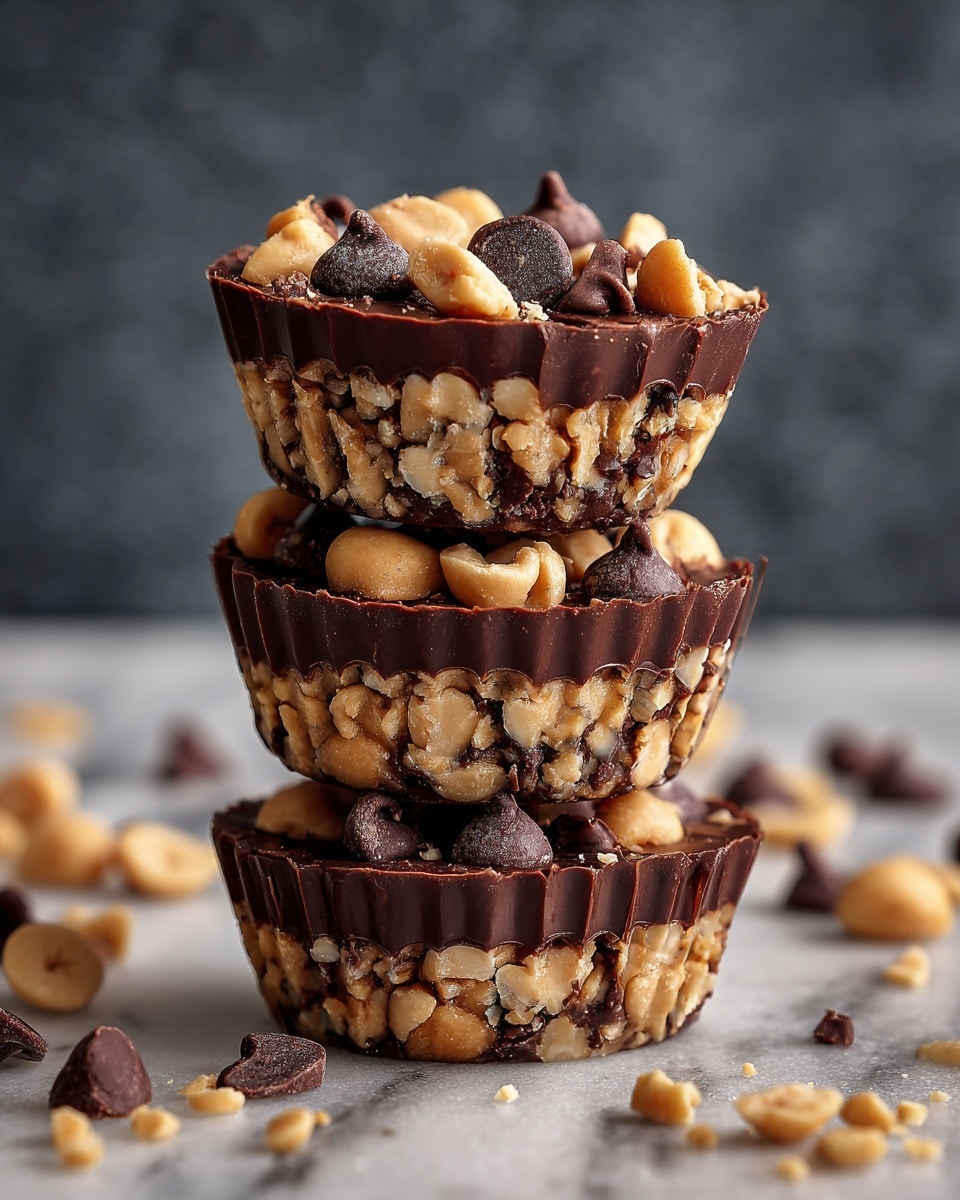
Serve this delicious recipe with your favorite sides.
FAQs
How long do these No-Bake Chocolate Peanut Butter Oat Cups last?
They keep fresh in the refrigerator for about 2 weeks in an airtight container. The oat layer may dry slightly over time, and chocolate might develop a whitish bloom from temperature changes, which is safe and does not affect taste.
Can I freeze these for later?
Yes! Freeze them on a baking sheet until solid, then store in a freezer-safe container or bag for up to 3 months. They can be enjoyed frozen or thawed at room temperature.
Why did my chocolate crack when I cut them?
Chocolate can crack if it’s poured too thick or cools too quickly. To prevent this, pour a thinner layer of about 1 tablespoon and let the cups come closer to room temperature for 10 minutes before cutting to soften the chocolate.
Can I make these without coconut oil?
Yes, butter is a good alternative in equal amounts, though the chocolate layer will be less glossy. For the oat layer, melted butter or avocado oil can substitute coconut oil, with slight flavor differences.
Why are my cups crumbling and falling apart?
This usually happens if the oat mixture isn’t pressed firmly enough or if they aren’t chilled long enough. Press the mixture tightly in the muffin cups and freeze for at least 10 minutes before adding chocolate.
My peanut butter mixture is too dry — what should I do?
Add a tablespoon of peanut butter, milk, or a splash of maple syrup to moisten it. Variations in peanut butter brands affect moisture, so adjust until the mixture clumps well when squeezed.
Can I double this recipe?
Definitely! The recipe scales well. You may need extra muffin tins or to work in batches. Preparing larger quantities makes it easier to keep some in the freezer for later.
What’s the best way to reheat them?
These treats are best served chilled or at room temperature, but you can warm one in the microwave for 10–15 seconds if you want warm, melty chocolate. It’s a delicious indulgence!
Print
No-Bake Chocolate Peanut Butter Oat Cups Recipe
- Total Time: 45 minutes to 1 hour 15 minutes (including chilling time)
- Yield: 12 cups 1x
- Diet: Vegetarian
Description
These No-Bake Chocolate Peanut Butter Oat Cups are a delicious, easy-to-make treat combining a chewy peanut butter oat base with a smooth, shiny chocolate topping. Perfect for warm days when you don’t want to heat your kitchen, they require no oven and come together in under 20 minutes. Versatile and customizable for various dietary needs, these cups are kid-friendly, freezer-friendly, and a delightful snack or dessert anytime.
Ingredients
Peanut Butter Oat Layer:
- 2 cups rolled oats (old-fashioned, not quick-cooking)
- 1 cup creamy peanut butter (natural, stirred well)
- 1/2 cup honey (or maple syrup for vegan option)
- 1/4 cup coconut oil, melted (or melted butter as substitute)
- 1 teaspoon vanilla extract
- 1/4 teaspoon fine sea salt
Chocolate Topping:
- 1 1/2 cups semisweet chocolate chips
- 2 tablespoons coconut oil (or butter as substitute)
- Pinch of flaky sea salt for sprinkling (optional)
Instructions
- Prep your pan: Line a standard 12-cup muffin tin with parchment-style cupcake liners. Lightly grease each liner with nonstick spray or a small amount of coconut oil for easier removal of the oat cups later.
- Mix your oat base: In a medium bowl, combine rolled oats, peanut butter, honey (or maple syrup), melted coconut oil, vanilla extract, and sea salt. Stir thoroughly until the mixture forms a slightly crumbly but cohesive dough that holds shape when squeezed. Adjust by adding more peanut butter if too dry or more oats if too sticky.
- Press the oat mixture into the pan: Using about 2 tablespoons of the oat mixture per cup, firmly press it into the bottom of each cupcake liner to form an even base approximately 1/4 to 1/3 inch thick. Use fingers or the back of a spoon for even compaction.
- Freeze the oat bases: Place the muffin tin in the freezer for 10 minutes to firm up the oat layer so it won’t dissolve when you add the warm chocolate.
- Make the chocolate topping: Melt chocolate chips and coconut oil together in a microwave-safe bowl using 20-second intervals, stirring between each, until smooth and glossy. Alternatively, melt gently using a double boiler on the stovetop.
- Pour the chocolate: Remove the muffin tin from the freezer and spoon about 1 tablespoon of melted chocolate onto each oat cup. Spread evenly with the back of a spoon. Optionally, sprinkle a pinch of flaky sea salt over each cup while the chocolate is still wet.
- Chill until firm: Refrigerate the cups for 45 minutes to an hour, or freeze for at least 30 minutes, until the chocolate layer is fully set and firm to the touch.
- Serve and enjoy: Remove the cups from the muffin tin by lifting out the paper liners. If needed, run a butter knife around the edge to loosen cups. Let cups sit at room temperature for 5-10 minutes before serving for the best flavor experience. Store leftovers in an airtight container in the refrigerator for up to two weeks or freeze for up to three months.
Notes
- Use parchment cupcake liners for easy removal; silicone or greased pans cause sticking.
- Adjust peanut butter and oats to get the right consistency for pressing.
- Let peanut butter come to room temperature before mixing to avoid lumps.
- Do not overheat chocolate when melting; remove from heat when 80% melted and stir to finish melting.
- High-quality chocolate chips enhance flavor significantly.
- Allow cups to come to room temperature before eating to enhance chocolate flavor.
- Freeze cups in paper liners for convenient storage and easy serving.
- To prevent chocolate cracking, pour about 1 tablespoon per cup and let cups come to room temperature before cutting.
- Prep Time: 10 minutes
- Cook Time: 5 minutes (melting chocolate and assembling)
- Category: Dessert
- Method: No-Cook
- Cuisine: American
Keywords: no-bake, chocolate peanut butter cups, oat cups, easy dessert, kid-friendly snack, vegan option, gluten-free option, freezer-friendly, healthy dessert