
Sushi Bake Recipe
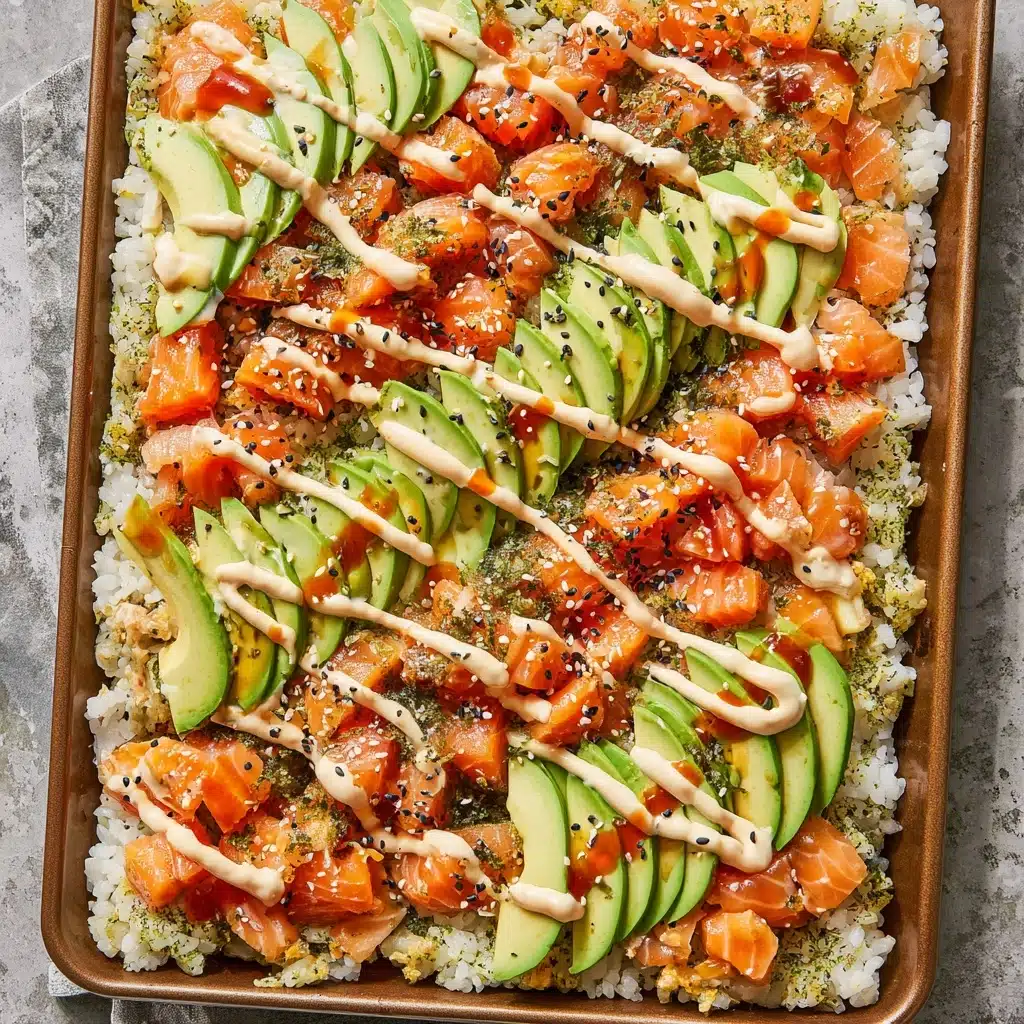
If you love the flavors of sushi but want something warm, comforting, and effortlessly shareable, you are going to adore this Sushi Bake. This dish takes all the freshest sushi ingredients and transforms them into a delicious layered casserole that’s baked to perfection. The sticky rice, savory salmon, creamy avocado, and that irresistible tang of kewpie mayo all come together to create a flavor-packed experience that’s perfect for gatherings or a cozy night in. I can’t wait to show you exactly how to bring this flavorful Sushi Bake to life in your kitchen!
Ingredients You’ll Need
These ingredients are simple yet essential to capturing the true spirit of Sushi Bake. Each one plays an important role: from the sticky rice providing a comforting base, to the furikake seasoning adding a burst of umami and crunch, to the silky avocado slices that balance the rich salmon perfectly.
- Rice vinegar (1/4 cup + 2 tablespoons): Adds a bright tang that perfectly seasons the sticky rice.
- Granulated sugar (1/4 cup): Balances the acidity of the vinegar and adds subtle sweetness.
- Kosher salt (1/2 teaspoon plus more for seasoning): Essential for enhancing all the flavors.
- Sticky rice (5 cups): The hearty base that holds all the sushi bake layers together.
- Furikake (2 tablespoons): A Japanese seasoning blend that brings extra texture and umami.
- Salmon (1.5 lbs): Fresh, skinless cubes that bake into tender, flavorful bites.
- Ground black pepper: Adds a mild heat and earthiness to the salmon.
- Avocado (1, sliced): Creamy, buttery slices that lighten and refresh each serving.
- Green onions (1/4 cup, sliced): Add a crisp, fresh bite and lovely pop of color.
- Optional sushi ginger: Brightens the dish with a little zing and balances the richness.
- Kewpie mayo or spicy mayo (2 tablespoons): The creamy, tangy drizzle that ties everything together.
- Sesame seeds or Sriracha (optional garnish): For a nutty crunch or spicy kick as you please.
- Nori seaweed sheets (cut into 2 inch squares): Perfect bite-sized scoops to enjoy the sushi bake.
- Soy sauce or Tamari: Classic dipping sauces to enhance every bite.
How to Make Sushi Bake
Step 1: Prepare the Seasoned Rice
Start by preheating your oven to 475 degrees Fahrenheit. While it heats, whisk together the rice vinegar, sugar, and kosher salt in a small glass measuring cup until fully combined. Spread your sticky rice evenly in a nonstick quarter baking sheet, then pour the vinegar mixture over the top. Use wet fingers to gently press the liquid into the rice, ensuring it absorbs evenly. Bake uncovered for 10-15 minutes to let those flavors meld while the rice becomes slightly toasted on top. Once done, remove and allow it to cool at room temperature. This step creates a perfectly seasoned rice layer that’s both tangy and aromatic.
Step 2: Prepare and Layer the Salmon
While the rice cools, remove the skin from your salmon and cut into roughly one-inch cubes. After the rice has cooled, sprinkle the furikake seasoning evenly over its surface to add that irresistible Japanese flavor and texture. Next, spread out your salmon cubes on top, seasoning generously with kosher salt and ground black pepper to bring out the salmon’s natural richness. Lower the oven temperature to 400 degrees Fahrenheit and bake the entire dish again for 12-15 minutes until the salmon is just cooked through. This dual bake method yields juicy salmon atop perfectly seasoned rice—a match made in heaven!
Step 3: Add the Fresh Toppings and Final Touches
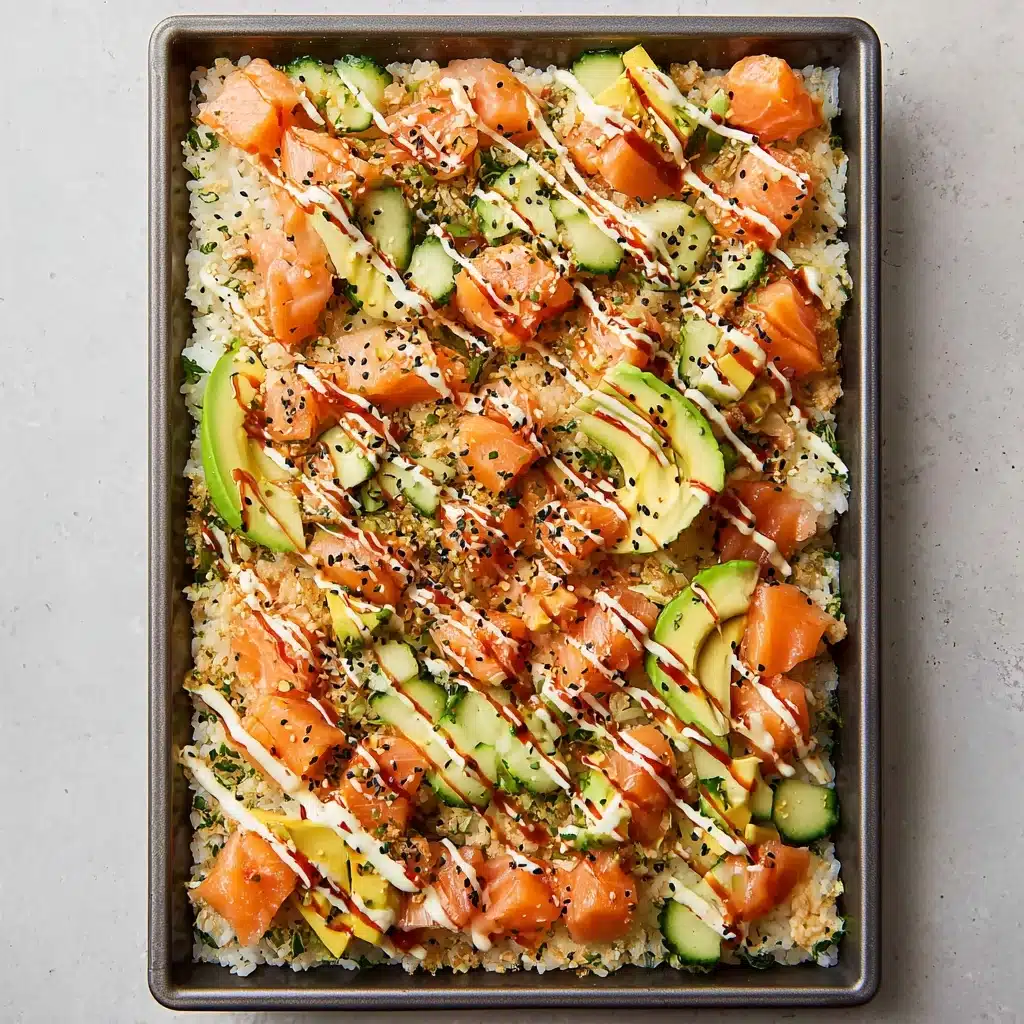
Once the sushi bake has cooled slightly, the fun really begins! Layer on the sliced avocado, scattered green onions, and optional pickled sushi ginger for brightness. Drizzle your chosen mayo—kewpie or spicy mayo—generously across the top, creating a creamy, luscious finish. For a final flourish, sprinkle sesame seeds or add a drizzle of sriracha if you want a little heat. Now it’s ready to cut into squares and served with nori sheets for wrapping. Every bite is bursting with layered flavors and textures that make this Sushi Bake an absolute crowd-pleaser.
How to Serve Sushi Bake
Garnishes
Simple garnishes really elevate the Sushi Bake experience. Toasted sesame seeds add a lovely crunch and nutty aroma, while a drizzle of spicy Sriracha gives a zesty punch for those who enjoy heat. Freshly sliced green onions sprinkled on top provide a vibrant freshness that balances the creamy mayo and rich salmon. And don’t overlook the optional sushi ginger, which cleanses the palate and adds a delightful zing to each bite.
Side Dishes
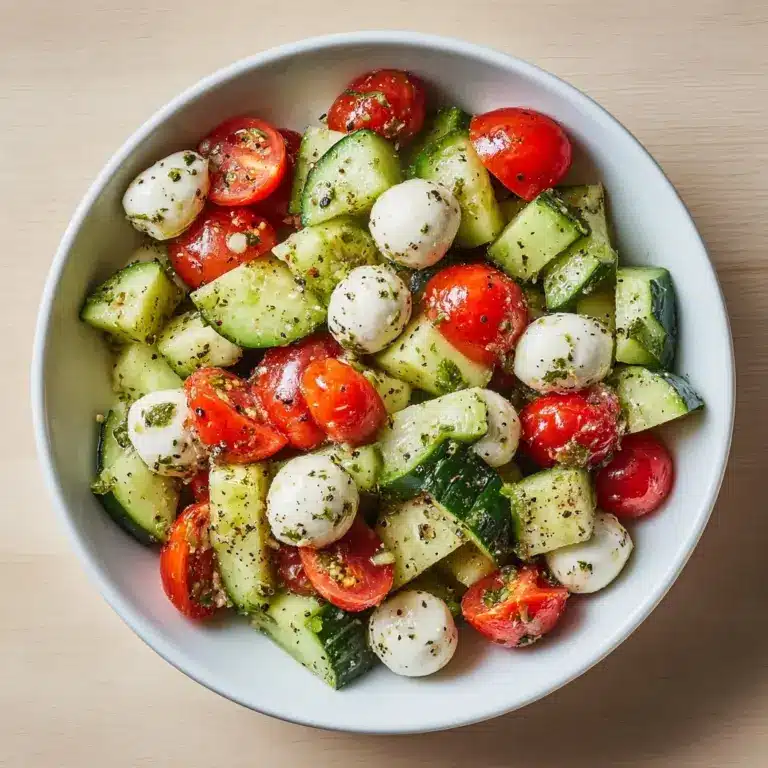
Since Sushi Bake is a substantial dish on its own, light and refreshing sides work best. A crisp seaweed salad, miso soup, or pickled vegetables complement the flavors without overwhelming the palate. You can also consider edamame sprinkled with flaky salt for a simple and satisfying starter. These sides add variety while keeping the meal balanced and exciting.
Creative Ways to Present
If you want to impress your guests, serve the Sushi Bake in a beautiful ceramic or glass baking dish, straight from the oven. Cut into neat squares and provide each person with nori sheets for wrapping, soy sauce for dipping, and an array of garnishes so everyone can customize to their liking. Another fun twist is to serve individual portions in small bowls layered with rice, salmon, and avocado topped with a drizzle of mayo and sprinklings of furikake. Either way, the presentation is sure to spark conversation and delight all who dig in.
Make Ahead and Storage
Storing Leftovers
Sushi Bake leftovers keep well in the refrigerator for up to 3 days. Transfer the cooled dish to an airtight container or cover tightly with plastic wrap. When you’re ready to enjoy, you can simply reheat individual portions in the microwave or oven. Just be mindful the nori is best added fresh when serving to keep it crisp.
Freezing
While freezing is possible, it’s not ideal for maintaining the perfect texture of Sushi Bake. The creamy avocado and delicate salmon can change after thawing. If you do freeze, wrap tightly in plastic wrap and foil to prevent freezer burn, and consume within one month for best flavor.
Reheating
To reheat, pop your Sushi Bake portions into a 350-degree Fahrenheit oven for 10-15 minutes or microwave until warmed through. Add fresh avocado slices and nori sheets after reheating to revive the freshest flavors. Avoid overheating, as the salmon can dry out quickly.
FAQs
Can I use a different type of fish for Sushi Bake?
Absolutely! While salmon is classic and flavorful, you can substitute with cooked shrimp, crab meat, or even tuna. Just keep in mind cooking times may vary depending on the protein you choose.
Is Sushi Bake gluten-free?
The dish itself can easily be gluten-free if you use tamari instead of soy sauce and ensure that the furikake seasoning contains no wheat or gluten ingredients. Always double-check labels to be safe.
Can I make Sushi Bake vegan or vegetarian?
Yes! Replace the salmon with seasoned tofu or a medley of roasted vegetables, swap the mayonnaise with vegan mayo, and you’ll have a delicious plant-based take on this dish.
How spicy is Sushi Bake if I use spicy mayo?
The heat level is typically mild to moderate, depending on how much spicy mayo you drizzle on top. You can control the spice to suit your taste, making the dish as gentle or fiery as you like.
What is the best way to eat Sushi Bake?
Traditionally, you scoop a portion onto a small square of nori seaweed, drizzle with soy sauce or sriracha if you wish, then fold or roll it up like a mini sushi hand roll. It’s fun, interactive, and delicious!
Final Thoughts
There’s something truly special about the warmth, texture, and layered flavors of Sushi Bake. It transforms simple ingredients into a comforting yet elegant dish that invites sharing and savoring together. Whether you’re cooking for friends, family, or just treating yourself, this recipe is a guaranteed winner. I can’t wait for you to try making your own Sushi Bake and enjoy every scrumptious bite as much as I do!
Print
Sushi Bake Recipe
- Total Time: 45 minutes
- Yield: 6–8 servings 1x
- Diet: Low Fat
Description
Sushi Bake is a delicious, easy-to-make Japanese-inspired casserole that layers vinegared sticky rice with seasoned salmon, furikake, and creamy avocado. Baked to perfection and topped with kewpie mayo and garnishes, it’s served on nori sheets for a fun, shareable dish that brings sushi flavors to your oven.
Ingredients
Rice Mixture
- 5 cups sticky rice
- 1/4 cup + 2 tablespoons rice vinegar
- 1/4 cup granulated sugar
- 1/2 teaspoon kosher salt
- 2 tablespoons furikake
Salmon Topping
- 1.5 lbs salmon, skin removed and cut into 1-inch cubes
- Kosher salt and ground black pepper, to taste
Garnishes and Serving
- 1 avocado, sliced
- 1/4 cup green onions, sliced
- Optional: sushi ginger
- 2 tablespoons kewpie mayo (or substitute with spicy mayo)
- Sesame seeds for garnish (optional)
- Drizzle of Sriracha for garnish (optional)
- Nori seaweed sheets, cut into 2 inch x 2 inch pieces, for serving
- Soy sauce or Tamari, for dipping
Instructions
- Preheat Oven: Preheat your oven to 475°F (246°C) so it’s ready for the rice bake.
- Prepare Vinegar Mixture: In a small glass measuring cup, whisk together rice vinegar, granulated sugar, and kosher salt until the sugar and salt dissolve to create the seasoning mixture for the rice.
- Season and Bake Rice: Spread the sticky rice evenly into a nonstick quarter baking sheet. Pour the vinegar mixture evenly over the rice. Using wet fingers, press the rice down firmly into the pan to compact it. Place the pan uncovered in the preheated oven and bake for 10-15 minutes, then remove and let the rice cool at room temperature.
- Prep Salmon: While the rice cools, remove the skin from the salmon and cut the flesh into approximately 1-inch cubes.
- Add Furikake and Top with Salmon: Once rice is cooled, evenly sprinkle furikake seasoning over the surface. Spread the cubed salmon over the furikake-covered rice. Season salmon with kosher salt and ground black pepper to taste.
- Bake Salmon and Rice: Reduce oven temperature to 400°F (204°C). Place the baking sheet back in the oven and bake for 12-15 minutes, or until the salmon is cooked through. Remove and allow it to cool slightly.
- Garnish and Serve: Once slightly cooled, arrange avocado slices, green onions, and optional sushi ginger on top of the salmon layer. Drizzle evenly with kewpie mayo or spicy mayo. Garnish with sesame seeds and a drizzle of Sriracha if desired. Cut the sushi bake into squares and serve on individual nori sheets with soy sauce or tamari for dipping.
Notes
- Use short-grain sushi rice for the best sticky texture.
- Wet your hands when pressing the rice to prevent sticking.
- Adjust mayo spiciness by using regular kewpie or spicy mayo.
- For gluten-free, use tamari instead of soy sauce and ensure furikake seasoning is gluten-free.
- Leftover sushi bake can be refrigerated for up to 2 days, but is best enjoyed fresh.
- Prep Time: 20 minutes
- Cook Time: 25 minutes
- Category: Main Dish
- Method: Baking
- Cuisine: Japanese
Nutrition
- Serving Size: 1/8 of recipe
- Calories: 390
- Sugar: 7g
- Sodium: 560mg
- Fat: 14g
- Saturated Fat: 2.5g
- Unsaturated Fat: 9g
- Trans Fat: 0g
- Carbohydrates: 45g
- Fiber: 3g
- Protein: 22g
- Cholesterol: 55mg
Keywords: sushi bake, salmon sushi casserole, baked sushi, furikake salmon bake, easy sushi recipe, kewpie mayo sushi


