
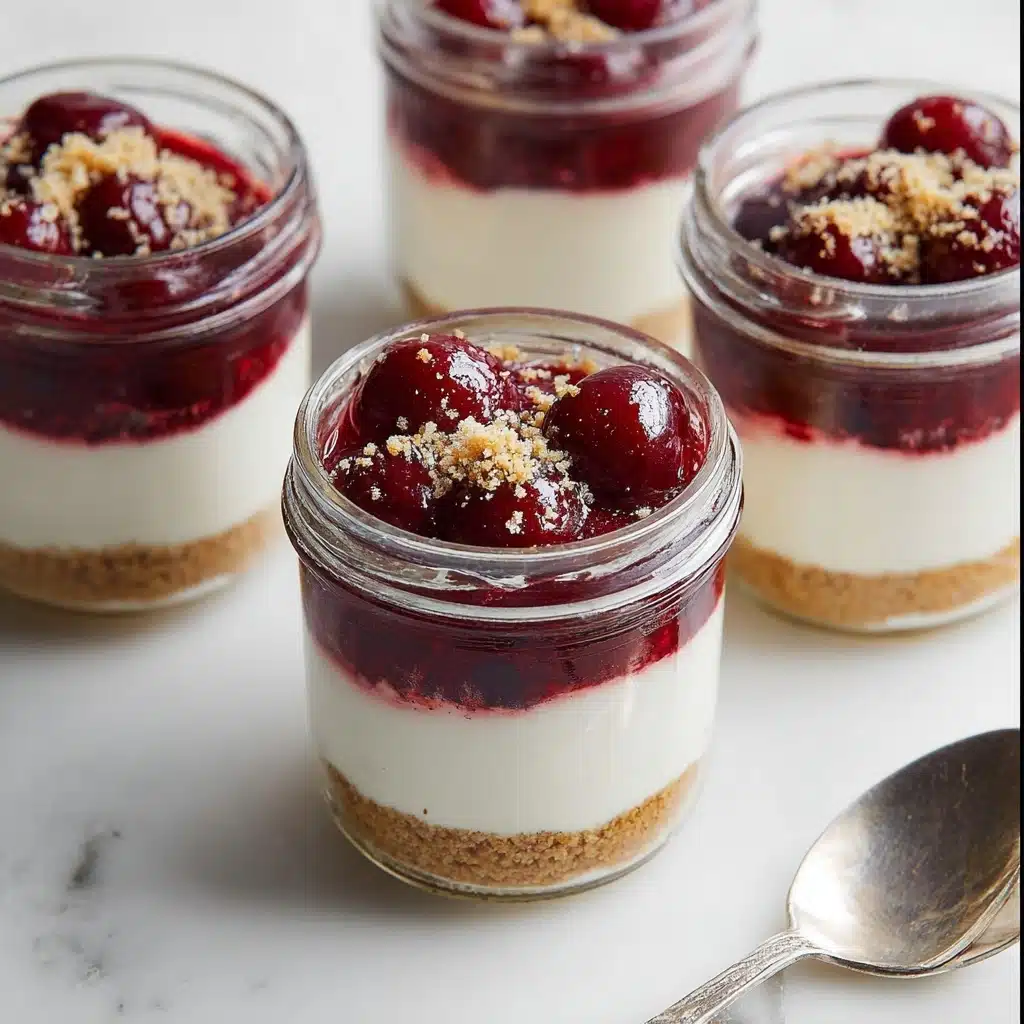
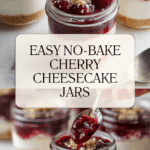
Healthy No Bake Cheesecake in a Jar Recipe
Imagine a dessert that’s luxuriously creamy, delightfully fruity, and comes together without even turning on your oven! Healthy No Bake Cheesecake in a Jar is my favorite sweet treat for warm-weather gatherings, busy weeknights, or anytime you want classic cheesecake flavor with a nutritious, satisfying twist. These adorable personal jars are bursting with fresh cherry sauce, a light and tangy cheesecake filling, and a buttery graham cracker crust — all layered for that perfect bite. If you’re looking for a crave-worthy yet approachable dessert, this is one recipe you’ll want to keep on repeat.
Ingredients You’ll Need
This Healthy No Bake Cheesecake in a Jar depends on real, wholesome ingredients that each bring their own personality to the party. You’ll notice simple components, yet every single one matters for building mouthwatering flavor, creamy texture, and that playful pop of color we all adore.
- Pitted Cherries: Juicy, sweet-tart cherries form the fruity crown of each cheesecake jar and provide gorgeous color.
- Pure Maple Syrup: Natural maple syrup gently sweetens both the cherry topping and the cheesecake filling without overpowering other flavors.
- Fresh Lemon Juice: A splash of lemon brightens up the fruity cherries and cuts through the richness of the creamy base.
- Water: Just a touch blends with the cherries to help create a luscious sauce.
- Corn Starch: A small amount thickens the cherry topping so it sits beautifully atop your cheesecake jar.
- Cream Cheese (softened): Classic cheesecake flavor comes from the cream cheese — be sure it’s soft for easy blending!
- Plain Full-Fat Greek Yogurt: Yogurt makes the filling extra creamy and provides a nutritious boost, plus a subtle tangy note.
- Graham Cracker Crumbs: The must-have cheesecake crust, providing a bit of crunch and nostalgia in every bite.
- Butter (melted): Butter brings the crust together and gives that signature rich, golden flavor.
How to Make Healthy No Bake Cheesecake in a Jar
Step 1: Prepare the Cherry Topping
Start by adding your pitted and halved cherries to a medium saucepan, along with maple syrup, lemon juice, water, and corn starch. Set it all over medium heat and give it a gentle stir as it warms. In about 5 to 10 minutes, you’ll see the fruit begin to break down and the sauce thicken into a glistening compote. If you prefer a chunkier topping, leave the cherries mostly whole; for more of a jammy effect, mash some as they cook. Once it’s luscious and spoonable, take it off the heat and let it cool. You want it to reach room temperature so it won’t melt your cheesecake filling later.
Step 2: Mix the Cheesecake Filling
In a medium mixing bowl, combine the softened cream cheese, creamy Greek yogurt, pure maple syrup, and a squeeze of fresh lemon juice. Use an electric hand mixer or stand mixer to blend everything together for 2 to 3 minutes on high speed. The filling should be smooth and silky, though a few tiny lumps from the cream cheese are perfectly fine. Pop the bowl in the fridge to chill while you move onto the crust — this helps keep everything firm and luscious.
Step 3: Make the Graham Cracker Crust
Melt the butter in the microwave and pour it over your graham cracker crumbs in a small bowl. Stir until every crumb gleams with buttery goodness and the mixture holds together when pinched. This quick, no-bake crust forms the delicious foundation of your Healthy No Bake Cheesecake in a Jar, adding crunch and flavor in every layer.
Step 4: Assemble Your Mini Cheesecake Jars
Grab six 125mL mason or jam jars and divide the graham cracker crust mixture evenly among them, about a tablespoon per jar. Use your fingertips to gently press down and compact the crust in each jar. Next, spoon in the cheesecake filling, dividing it evenly so every jar gets its fair share of creamy goodness. Give the jars a gentle tap on your countertop to settle the layer just right.
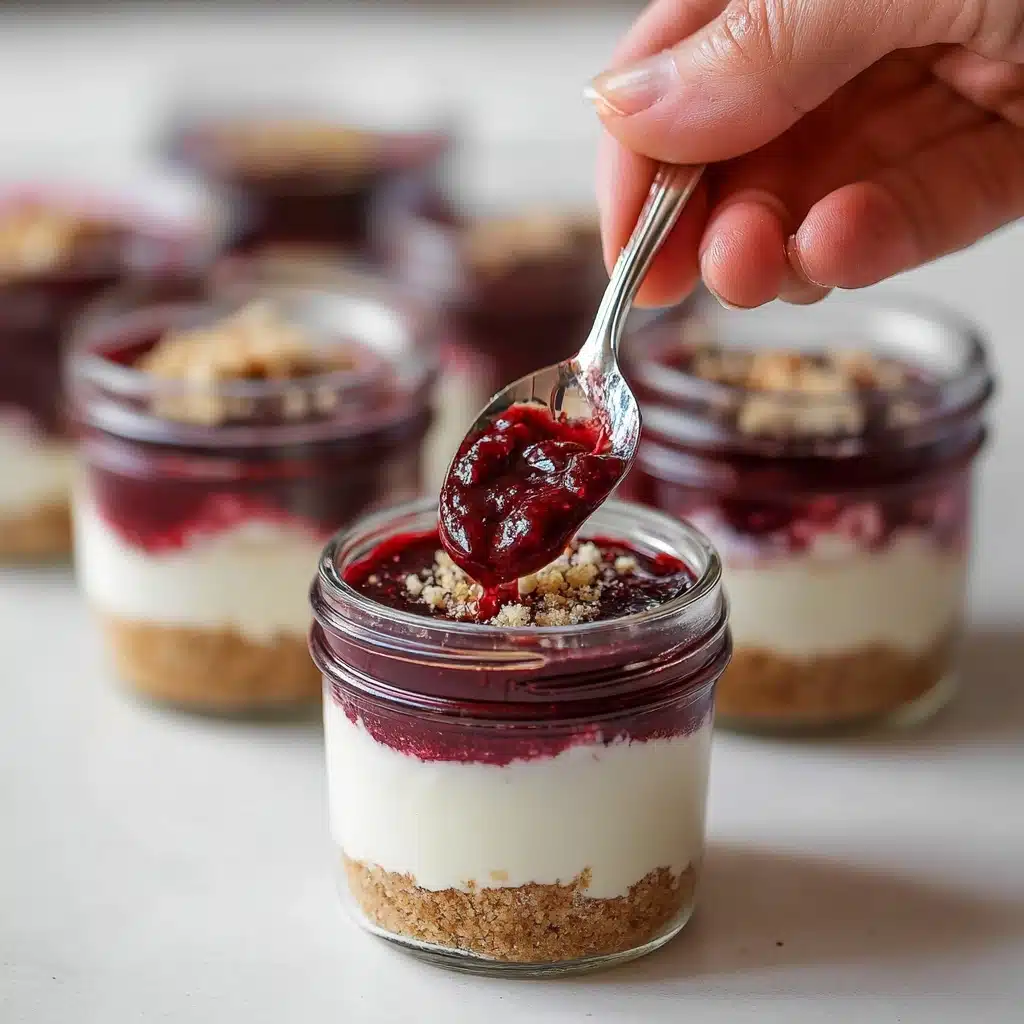
Step 5: Finish with the Cherry Topping and Chill
Now it’s time for the grand finale! Add a generous spoonful of the cooled cherry topping to each filled jar. If you’d like, swirl it gently to create a marbled look. You can serve your Healthy No Bake Cheesecake in a Jar right away for those who can’t wait, but for the creamiest, dreamiest result, I recommend chilling the jars in the fridge for at least an hour. This lets the flavors meld and gives you that perfect cheesecake texture.
How to Serve Healthy No Bake Cheesecake in a Jar
Garnishes
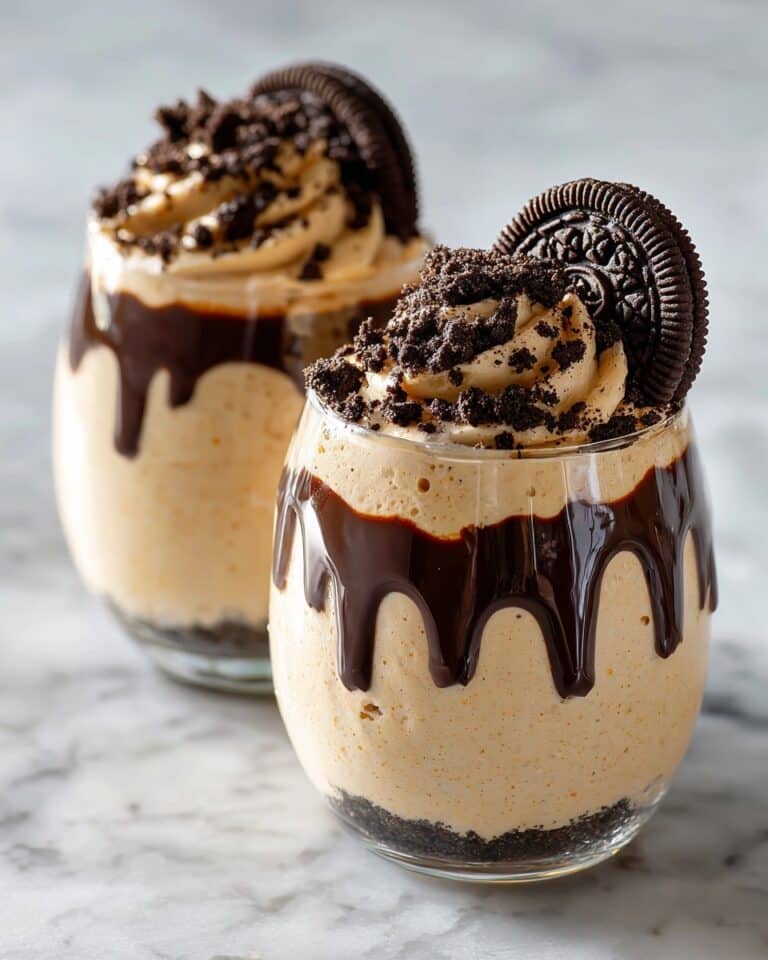
The crowning glory of your jarred cheesecake can be as simple or extravagant as you like! I love a fresh cherry or two on top, a sprig of mint, or even a dusting of finely-grated lemon zest. A thin drizzle of dark chocolate or a few chocolate curls can take things to the next level for extra-special occasions.
Side Dishes
Healthy No Bake Cheesecake in a Jar is a showstopper on its own, but if you’re planning a full spread, it pairs wonderfully with crisp biscotti, delicate tea cookies, or bowls of fresh fruit. For a brunch or picnic, serve alongside iced coffee or herbal tea for a refreshing contrast to the creamy cheesecake.
Creative Ways to Present
For parties or picnics, I love tying a little ribbon or twine around each jar for a charming touch. You can write guests’ names on cute tags and use the cheesecakes as edible place cards! For a family-style dessert, layer the components in a big trifle dish and let everyone scoop their own servings. Whatever your style, Healthy No Bake Cheesecake in a Jar is always a conversation starter.
Make Ahead and Storage
Storing Leftovers
If you have any jars left (which is rare in my house!), simply cover them with lids or plastic wrap and refrigerate for up to 3 days. The layers stay lovely and fresh, and the crust softens just slightly, soaking up flavors for an even richer bite on day two.
Freezing
You can freeze Healthy No Bake Cheesecake in a Jar for up to a month, making it a perfect make-ahead treat. Freeze the jars (tightly covered) without the cherry topping, then thaw overnight in the fridge and add the topping just before serving. This keeps both the cheesecake and fruit layer at their best.
Reheating
No reheating required here! In fact, these cheesecakes are best served chilled straight from the fridge. If they’ve been frozen, a gentle overnight thaw in the refrigerator will bring them back to perfect texture — no need for the microwave or oven.
FAQs
Can I use different fruit for the topping?
Absolutely! Blueberries, raspberries, blackberries, or even chopped peaches make fabulous toppings for Healthy No Bake Cheesecake in a Jar. Feel free to follow the same basic directions and mix things up with whatever is in season.
Can I make this recipe gluten-free?
Yes, simply swap traditional graham cracker crumbs for your favorite gluten-free alternative. Many stores carry gluten-free graham crackers, or you can use gluten-free cookies for an equally tasty crust.
Can I use light cream cheese or yogurt?
You can substitute with reduced-fat cream cheese or Greek yogurt to lighten things up further. The filling may be slightly less creamy, but it will still be delicious and satisfying!
What jars work best for serving?
I love using small 125mL (about 4-ounce) mason or jam jars, but any small glass or cup will work. The jars are not only cute, but perfect for portion control and easy transport to picnics or parties.
How far in advance can I make these?
You can assemble Healthy No Bake Cheesecake in a Jar up to two days ahead. Just keep covered and refrigerated until you’re ready to serve, and add any delicate garnishes or chocolate right before eating.
Final Thoughts
If you love dessert but crave something easy, wholesome, and full of summer flavor, Healthy No Bake Cheesecake in a Jar is bound to become a new favorite. These cheerful little jars are bursting with creamy, fruity goodness — plus, they’re fun to make and even more fun to eat. Give them a try and discover just how easy indulgence can be!
Print
Healthy No Bake Cheesecake in a Jar Recipe
- Total Time: 30 minutes
- Yield: 6 servings 1x
- Diet: Vegetarian
Description
Indulge in this delightful and healthy no-bake cheesecake served in individual jars. Creamy cheesecake filling paired with a sweet cherry topping makes for a perfect dessert.
Ingredients
Cherry Topping
- 1 cup pitted cherries (halved)
- 1 tbsp pure maple syrup
- 1 tbsp fresh lemon juice
- 1 tsp water
- 1 tsp corn starch
Cheesecake Filling
- 4 ounces cream cheese (softened)
- 2/3 cup plain full-fat Greek yogurt
- 2 tbsp pure maple syrup
- 1 tbsp fresh lemon juice
Graham Cracker Crust
- 1/2 cup graham cracker crumbs
- 2–3 tbsp butter (melted)
Instructions
- Cherry Topping: Add all cherry topping ingredients to a medium saucepan over medium heat. Saute for 5-10 minutes, stirring occasionally until thickened. Cool.
- Cheesecake Filling: Mix cream cheese, Greek yogurt, maple syrup, and lemon juice until smooth. Chill.
- Graham Cracker Crust: Combine melted butter and graham cracker crumbs.
- Assemble: Fill jars with crust, cheesecake filling, and cherry topping. Chill before serving.
- Prep Time: 20 minutes
- Cook Time: 10 minutes
- Category: Dessert
- Method: No-Bake
- Cuisine: American
Nutrition
- Serving Size: 1 jar
- Calories: 230 kcal
- Sugar: 15g
- Sodium: 180mg
- Fat: 14g
- Saturated Fat: 8g
- Unsaturated Fat: 5g
- Trans Fat: 0g
- Carbohydrates: 20g
- Fiber: 1g
- Protein: 5g
- Cholesterol: 40mg
Keywords: No-Bake Cheesecake, Healthy Dessert, Jar Dessert, Cherry Cheesecake


