
Apple Pie Tacos Recipe
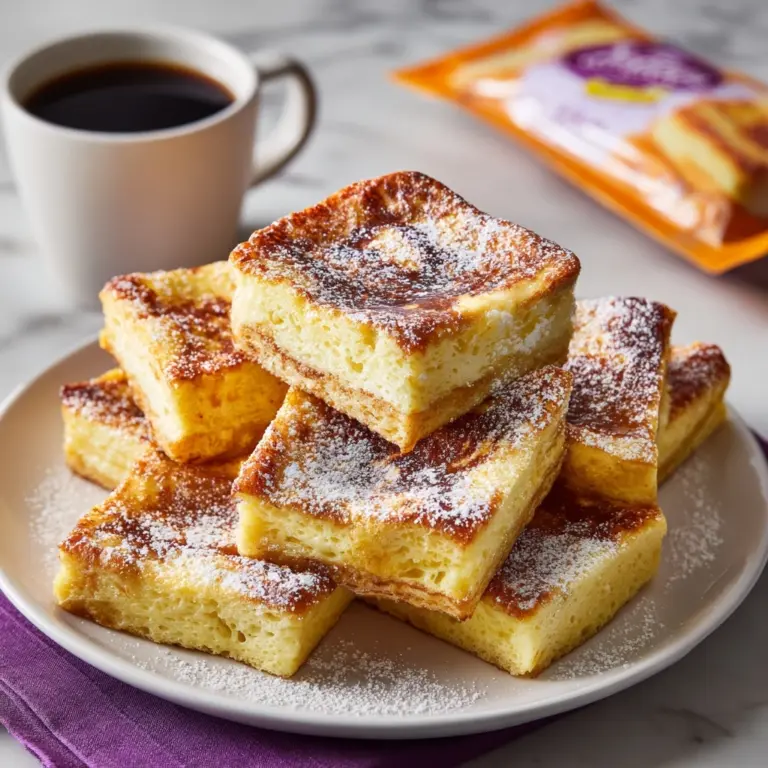
If you’re ready to discover your next dessert obsession, Apple Pie Tacos are the sweet treat you didn’t know you needed. Imagine everything you love about classic apple pie – warm spice, luscious apples, a creamy center – but reimagined in crispy taco shells dusted with cinnamon-sugar. These are playful, utterly crave-worthy, and a total showstopper whenever you serve them. Trust me, one bite is never enough, and you’ll be reaching for seconds… or thirds!
Ingredients You’ll Need

Ingredients You’ll Need
You’ll be amazed at how a handful of everyday ingredients can create a dessert as fun and fabulous as Apple Pie Tacos. Each element plays a crucial role in building irresistible layers of flavor and texture, from the delicate cream cheese filling to the sweet cinnamon crunch.
- 8 inch Tortillas: The base and “taco shell,” they become delightfully crisp and hold everything together.
- Sugar: Gives the shells a sweet crunch and balances the tart apple filling.
- Cinnamon: Brings warm spice and that signature fall flavor everyone loves.
- Butter (melted): Helps the cinnamon-sugar stick and browns the tortillas beautifully in the oven.
- Cream Cheese (softened): Creates a luscious, tangy cheesecake filling that pairs perfectly with apples.
- Heavy Cream: Adds richness and helps whip the filling to a dreamy, fluffy texture.
- Lemon Zest: Freshens everything up and balances the sweetness of the apples.
- Vanilla: Ties all the flavors together with classic bakery goodness.
- Powdered Sugar: Sweetens and thickens the cream cheese mixture until it’s just right.
- Apple Pie Filling (canned): The star topping, delivering that ooey-gooey apple pie flavor in every bite.
How to Make Apple Pie Tacos
Step 1: Chill the Apple Pie Filling
For the best results, start by popping your can of apple pie filling into the refrigerator. Chilling it makes the topping easier to work with, keeps the cream cheese from melting, and amplifies that fresh-from-the-fridge bite when you assemble your Apple Pie Tacos.
Step 2: Preheat and Prep
Set your oven to 400 degrees, so it’s hot and ready for your taco shells. While that’s happening, melt your butter in a microwave-safe bowl (about 30 seconds should do it), and stir until it’s perfectly silky smooth. This step ensures your tortillas get evenly coated for the ultimate crisp factor.
Step 3: Mix the Cinnamon Sugar
Blend the sugar and cinnamon together in a bowl until they’re evenly mixed. This fragrant duo will coat your taco shells, giving them their irresistible, golden, sparkly crunch. Mixing well is key so you get the perfect amount of spice in every bite.
Step 4: Cut Out the Taco Shells
Lay your tortillas flat and use a large biscuit or cookie cutter to punch out rounds – you’ll get about two per tortilla. These rounds will become your adorable taco shells, just the right size for snacking or entertaining.
Step 5: Coat and Shape the Shells
Take each tortilla round and dip it first in melted butter, then toss it in your cinnamon sugar mixture. Get them fully coated for the maximum crunch! Next, flip a muffin pan upside down and drape each round between the muffin cups to shape classic taco shells. This trick is so fun and gives you the perfect vessel for the creamy apple filling.
Step 6: Bake the Shells
Bake your coated shells for 10 minutes until golden, crisp, and fragrant. When they come out, let them cool right on the muffin tin – this helps them hold their taco shape. Once they’re cool to the touch, transfer them gently to a wire rack to cool completely.
Step 7: Prepare the Cheesecake Filling
In a large mixing bowl, whip the softened cream cheese until it’s light and fluffy. Add in the heavy cream, lemon zest, and vanilla, mixing until everything is silky and smooth. Gradually beat in the powdered sugar, scraping down the sides as needed, then mix for another two minutes. This results in a filling that’s thick, creamy, and ready to steal the show.
Step 8: Chill the Cheesecake
Place your cheesecake mixture in the refrigerator for one hour to chill. This step helps it firm up, making it easier (and neater!) to pipe into your taco shells later.
Step 9: Assemble the Apple Pie Tacos
Once your shells and filling are chilled, transfer the cheesecake mixture to a piping bag. Pipe the cheesecake into each shell, filling them about three-quarters full. Top each one with a generous teaspoon of that chilled apple pie filling and a sprinkle of any remaining cinnamon sugar mixture. Your Apple Pie Tacos are ready for their big reveal!
How to Serve Apple Pie Tacos

Garnishes
Dress up your Apple Pie Tacos with a dollop of whipped cream, a light dusting of extra cinnamon, or even a drizzle of caramel sauce. Add a fresh mint leaf or a sprinkle of toasted nuts for an extra festive flourish.
Side Dishes
These tacos are lovely on their own, but if you want to take dessert up a notch, serve them alongside a scoop of vanilla ice cream or a mug of hot apple cider. The cold and warmth together make for the ultimate comfort combo with your Apple Pie Tacos.
Creative Ways to Present
Arranging the tacos upright on a wooden serving board is always a hit at parties, making them easy for guests to grab. For a playful twist, display them on a “taco stand” or line them up in cupcake wrappers for a charming, individual touch. Wherever you serve them, Apple Pie Tacos are guaranteed to turn heads and spark smiles.
Make Ahead and Storage
Storing Leftovers
If you have leftover Apple Pie Tacos (though it rarely happens!), store them in an airtight container in the fridge. The shells are best eaten the same day, but they’ll keep up to two days chilled – just know the shells may soften slightly.
Freezing
For longer storage, you can freeze the baked taco shells (without filling) in a resealable bag for up to a month. When you’re ready to serve, just thaw at room temperature and fill as directed. The cream cheese filling and the apple topping are best made fresh or refrigerated, not frozen.
Reheating
To recapture the crunch, pop just the empty shells in a toaster oven for a few minutes before adding the chilled fillings. Filled Apple Pie Tacos are meant to be served cold, so if you do assemble ahead, simply let them sit at room temperature for a few minutes before serving, but don’t reheat them with the filling inside.
FAQs
Can I use homemade apple pie filling instead of canned?
Absolutely! If you have a favorite homemade apple pie filling recipe, you can use it in Apple Pie Tacos. Be sure to let it cool completely before assembling the tacos for the best texture.
Can I make these gluten-free?
Yes, you can use your favorite gluten-free tortillas as the base. Just double check all your ingredients for gluten, and proceed as directed. The taste in Apple Pie Tacos will still be fantastic!
How do I keep the taco shells crispy?
The key is to assemble the tacos just before serving, rather than letting them sit filled for too long. Store empty shells in an airtight container at room temperature until you’re ready to fill them.
Can I use other pie fillings?
Certainly! While classic apple is timeless, these tacos are delicious with cherry, blueberry, or even peach pie filling. Mix things up and surprise your guests with a variety of Apple Pie Tacos and beyond!
Do I need a piping bag for the cream cheese filling?
A piping bag gives those neat, beautiful swirls, but you can also use a sturdy zip-top bag with the corner snipped off, or simply spoon the filling into the shells. The most important thing is getting that creamy goodness into your Apple Pie Tacos!
Final Thoughts
I can’t say enough about these Apple Pie Tacos – they’re a little taste of nostalgia with a creative twist, and always a crowd-pleaser. Whether for holidays, game day, or just because, give them a whirl and get ready for the sweetest kind of applause at your table!
Print
Apple Pie Tacos Recipe
- Total Time: 1 hour 30 minutes
- Yield: 10 tacos 1x
- Diet: Vegetarian
Description
These Apple Pie Tacos are a delightful twist on traditional apple pie and perfect for a fun dessert. Crispy cinnamon-sugar tortilla shells filled with a creamy cheesecake mixture and topped with sweet apple pie filling, these tacos are a delicious treat!
Ingredients
Tortilla Shells:
- 5 – 8 inch Tortillas
- 1/2 cup of sugar
- 2 Tablespoons of Cinnamon
- 1/2 cup of butter – melted
Cheesecake Filling:
- 16 ounces of cream cheese – softened
- 1/2 cup of heavy cream
- 1 teaspoon of lemon zest
- 1 teaspoon of Vanilla
- 1 1/2 cups of powdered sugar
- 1 – 21 ounce can of Apple Pie Filling
Instructions
- Chill Apple Pie Filling: Place the can of Apple pie filling in the refrigerator to chill.
- Preheat Oven: Pre-heat oven to 400 degrees.
- Melt Butter: Melt butter in a microwave-safe bowl for about 30 seconds, stir until melted and set aside.
- Mix Sugar and Cinnamon: In a bowl, combine the sugar and cinnamon and stir well to mix.
- Prepare Tortilla Shells: Using a large biscuit/cookie cutter, cut out rounds from the tortillas. Dip the Tortilla cut-outs into the melted butter, and then dip them in the cinnamon sugar mixture.
- Bake Tortilla Shells: Turn a muffin pan upside down and place the tortillas between the muffin cups. Bake for 10 minutes and let cool on the bottom of the muffin tin. Remove and cool on a wire rack.
- Make Cheesecake Filling: Mix cream cheese until light and fluffy. Add heavy cream, lemon zest, vanilla, and powdered sugar gradually, mixing well. Chill mixture.
- Assemble Tacos: Transfer chilled cheesecake to a piping bag. Pipe into taco shells, fill with Apple Pie Filling, and sprinkle with cinnamon sugar mixture.
Notes
- For a variation, try using different pie fillings like cherry or blueberry.
- These tacos are best served fresh but can be refrigerated for a few hours.
- Prep Time: 20 minutes
- Cook Time: 10 minutes
- Category: Dessert
- Method: Baking
- Cuisine: American
Nutrition
- Serving Size: 1 taco
- Calories: 280
- Sugar: 18g
- Sodium: 220mg
- Fat: 17g
- Saturated Fat: 10g
- Unsaturated Fat: 6g
- Trans Fat: 0g
- Carbohydrates: 27g
- Fiber: 1g
- Protein: 4g
- Cholesterol: 50mg
Keywords: Apple Pie Tacos, Dessert Recipe, Cheesecake Tacos, Apple Pie Filling, Cinnamon Sugar, Taco Shells
