
8-Minute Vintage Cool Whip Pie Recipe
Introduction
This no-bake 8-minute pie is a delightful blast from the past, inspired by a vintage 1970s Cool Whip lid recipe. Light, fruity, and incredibly quick to prepare, it’s perfect for warm days when you want a refreshing dessert with minimal effort.
Ingredients
- 1 (3-ounce) package of Jell-O (any flavor)
- 2/3 cup boiling water
- 2 cups ice cubes
- 1 (8-ounce) container Cool Whip or whipped topping
- 1 premade graham cracker crust
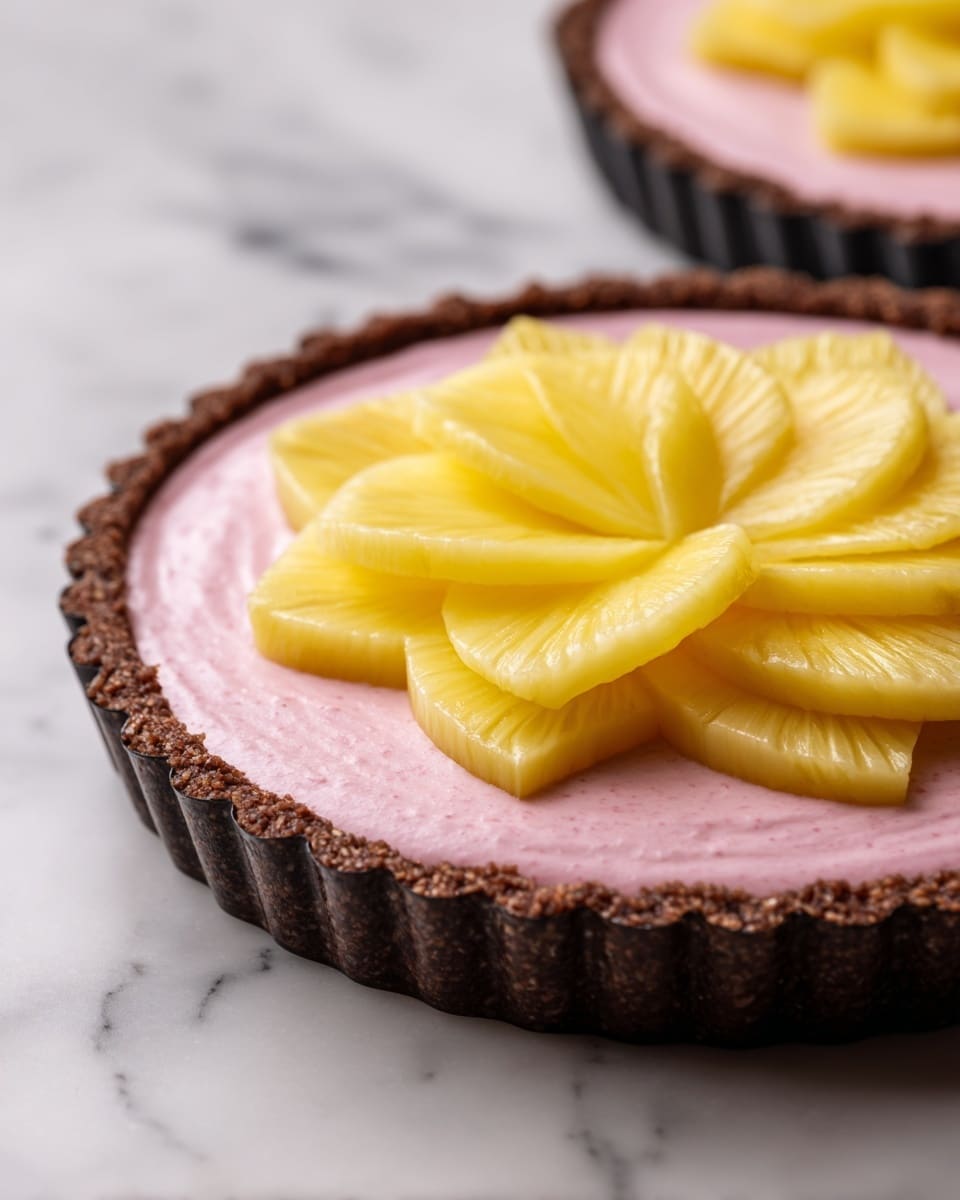
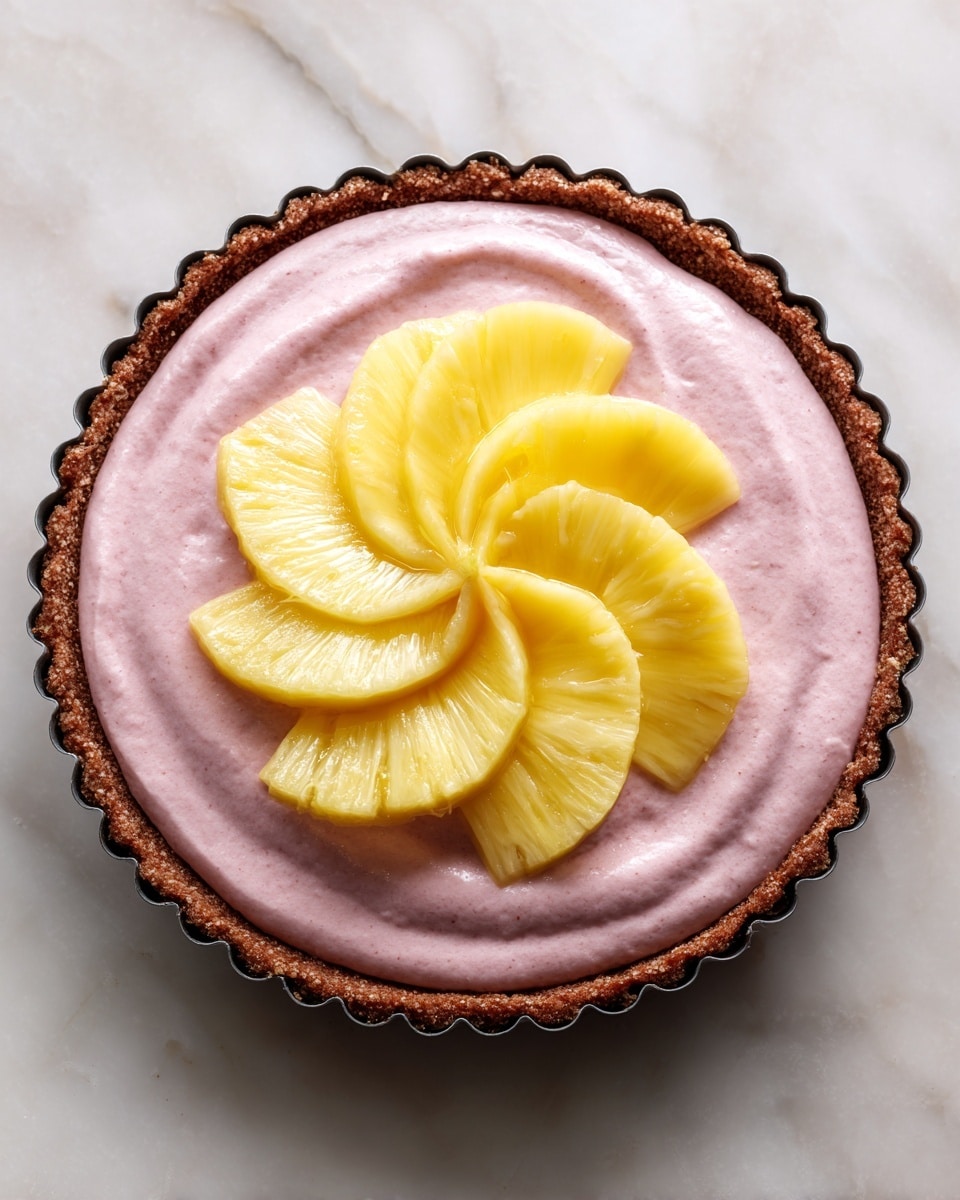
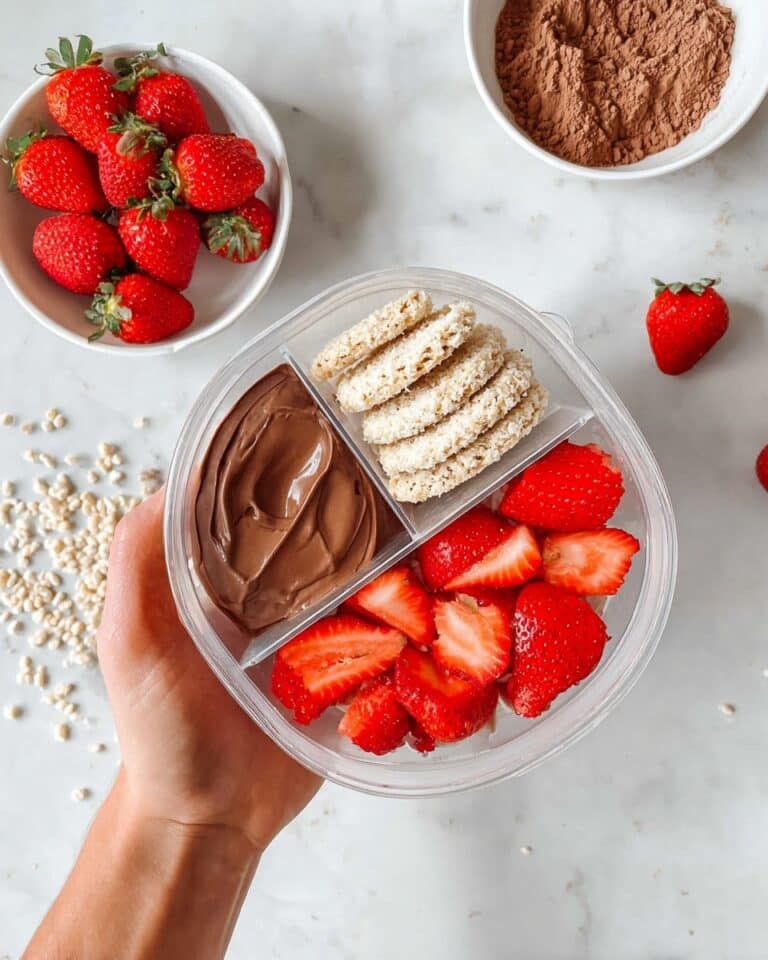
- 1 cup chopped fruit (such as canned peaches, pineapple, fresh raspberries, or strawberries)
Instructions
- Step 1: Dissolve the Jell-O completely in boiling water by stirring for about 2 minutes.
- Step 2: Add the ice cubes and stir constantly until the gelatin thickens, about 2 minutes. Remove any unmelted ice cubes.
- Step 3: Using a metal whisk, mix in the Cool Whip until the filling is smooth.
- Step 4: Fold in the chopped fruit gently to combine.
- Step 5: Spoon the mixture into the premade graham cracker crust.
- Step 6: Chill the pie in the refrigerator overnight before serving to let it set properly.
Tips & Variations
- Swap the graham cracker crust for Biscoff, Oreo, or shortbread cookie crust to change up the flavor and texture.
- Add a dollop of whipped cream on each slice just before serving for extra creaminess.
- Arrange thinly sliced fruit on top in a spiral or radial pattern to create an eye-catching presentation.
Storage
Store the pie covered in the refrigerator for up to 3 days. It’s best served chilled and can be sliced and enjoyed straight from the fridge. If needed, let it sit at room temperature for a few minutes before serving to soften slightly.
How to Serve
Serve this delicious recipe with your favorite sides.
FAQs
Can I use fresh fruit instead of canned?
Absolutely! Fresh fruit such as raspberries or strawberries works wonderfully and adds a vibrant flavor and texture to the pie.
Is this pie very sweet?
The pie has a light sweetness balanced by the fruit and whipped topping, making it refreshing without being overly rich or heavy.
Print
8-Minute Vintage Cool Whip Pie Recipe
- Total Time: 8 minutes prep plus overnight chilling
- Yield: 8 servings 1x
Description
This nostalgic 8-minute no-bake pie from the 1970s combines a fruity Jell-O gelatin filling with creamy Cool Whip, nestled in a graham cracker crust. Light, refreshing, and perfect for warm weather, it sets overnight into a smooth, sweet dessert packed with fresh or canned fruit. A quick, retro treat that’s easy to customize with different crusts or fruit toppings.
Ingredients
Filling
- 1 (3-ounce) package Jell-O (any flavor, e.g., strawberry)
- 2/3 cup boiling water
- 2 cups ice cubes
- 1 (8-ounce) container Cool Whip or whipped topping
- 1 cup chopped fruit (e.g., canned peaches, canned pineapple, fresh raspberries, or strawberries)
Crust
- 1 premade graham cracker crust (9-inch)
Instructions
- Dissolve Jell-O: In a mixing bowl, pour 2/3 cup boiling water over the 3-ounce package of Jell-O. Stir continuously for about 2 minutes until completely dissolved.
- Thicken gelatin: Add 2 cups of ice cubes to the dissolved gelatin and stir constantly for about 2 minutes until the mixture thickens. Remove any remaining unmelted ice cubes.
- Mix in Cool Whip: Using a metal whisk, fold in the entire 8-ounce container of Cool Whip until the filling is smooth and creamy.
- Fold in fruit: Gently fold in about 1 cup of your choice of chopped fruit, such as canned peaches, pineapple, or fresh berries, making sure it is evenly distributed.
- Assemble pie: Spoon the prepared filling evenly into the premade graham cracker crust, smoothing the top with a spatula.
- Chill to set: Refrigerate the pie uncovered overnight (at least 6-8 hours) to allow the filling to fully set and firm up before serving.
Notes
- For a crust variation, try Biscoff, Oreo, or shortbread cookie crust using 2 cups crushed cookies mixed with 4 to 6 tablespoons melted butter.
- Add a dollop of whipped cream on each slice before serving to enhance creaminess.
- Arrange thinly sliced fruit on top in a decorative radial pattern for an attractive presentation.
- Use fresh or canned fruit depending on preference and availability; drain canned fruit if very juicy.
- This pie is best served chilled and is perfect for warm weather or quick dessert needs.
- Prep Time: 8 minutes
- Cook Time: 0 minutes
- Category: Dessert
- Method: No-Cook
- Cuisine: American
Keywords: 8-minute pie, no-bake pie, vintage recipe, Cool Whip pie, Jell-O pie, icebox pie, quick dessert, summer dessert

