
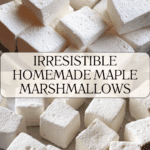
Homemade Maple Marshmallows Recipe
If you’ve never experienced the pillowy joy of Homemade Maple Marshmallows, you are in for a treat that completely redefines what a marshmallow can be! These are wildly tender, bursting with real maple flavor, and have the kind of soft, bouncy chew you just can’t buy in a bag. Whether you’re swirling them into hot cocoa, making s’mores, or simply devouring one (or three) straight from the pan, this recipe brings pure nostalgia with an irresistible twist.
Ingredients You’ll Need
For Homemade Maple Marshmallows, a handful of simple yet essential ingredients come together to create magic. Each one has a role to play, from adding lift and flavor to ensuring that signature cloud-like texture.
- Cold Water: Start with ice-cold water to help the gelatin bloom properly, giving your marshmallows their structure.
- Powdered Gelatin: This is what sets the marshmallows and makes them bouncy and fluffy—don’t skip or swap it.
- Maple Syrup: The star ingredient that brings a deep, woodsy sweetness no white sugar could ever match.
- Sea Salt: Just a pinch is enough to balance the flavors and make the maple shine.
- Vanilla Paste or Extract: Adds a cozy, aromatic note that makes your marshmallows taste bakery-level delicious.
- Arrowroot Starch or Powdered Sugar: Dusting keeps the marshmallows delightfully soft without stickiness.
How to Make Homemade Maple Marshmallows
Step 1: Prepare Your Pan
Line an 8-inch square pan with parchment paper, making sure to leave extra on the sides so you can easily lift the marshmallows out later. Give the parchment and sides a light dusting of arrowroot starch or powdered sugar, which prevents sticking and makes handling a breeze.
Step 2: Bloom the Gelatin
In your stand mixer bowl, pour in 1/2 cup cold water. Sprinkle the powdered gelatin evenly over the top. Stir gently until all the powder is absorbed and no dry bits remain; this ensures the gelatin fully hydrates, setting you up for that dreamy marshmallow texture. Get your whisk attachment ready—you’ll need it in a flash!
Step 3: Make the Maple Syrup Mixture
In a medium saucepan, add the remaining 1/2 cup water, the maple syrup, and a pinch of sea salt. Stir gently to combine, then place over medium heat without stirring again. Let the mixture come to a moderate boil. Watch closely—maple syrup loves to bubble up quickly. Turn the heat down if it threatens to spill over. No stirring, as sugar agitation can make it crystallize.
Step 4: Boil the Syrup to Temperature
Continue boiling the syrup until it reaches 242°F (use a candy thermometer). It usually takes about 15–20 minutes, and you’ll notice the bubbles change as it nears the target—a sign it’s almost ready to be turned into marshmallows. Once the syrup hits the mark, promptly remove it from the heat.
Step 5: Combine Syrup and Gelatin
With your mixer on low speed, carefully and slowly stream the hot maple syrup directly into the bloomed gelatin. Aim to pour the syrup straight down into the center of the bowl, avoiding the sides and whisk as much as possible for easy mixing and cleanup.
Step 6: Whip to Marshmallow Magic
Once all the syrup is added, turn the mixer up to medium for about a minute until the mixture becomes lighter in color. Add the vanilla now for maximum aroma. Increase to medium-high and whip for 5–10 minutes. You’re looking for the marshmallow to triple in size, cool off, and hold a soft shape when drizzled from the whisk. Don’t over-whip or you’ll risk it setting up in the bowl!
Step 7: Spread and Set
Working quickly before the mixture firms up, scrape the homemade marshmallow cream into your prepared pan and smooth evenly. Gently jiggle and tap the pan on the counter to help settle the mixture. Let it sit at room temperature, uncovered, for about 4 hours to set.
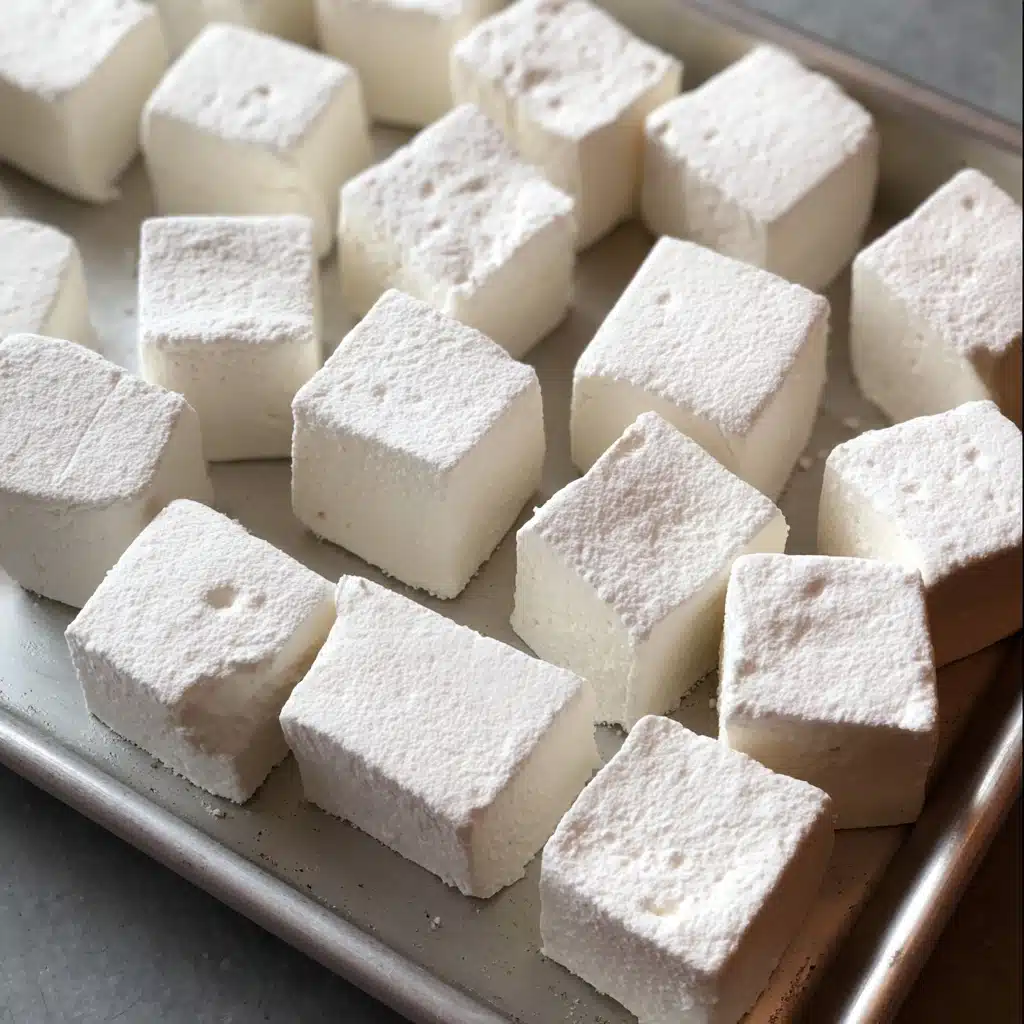
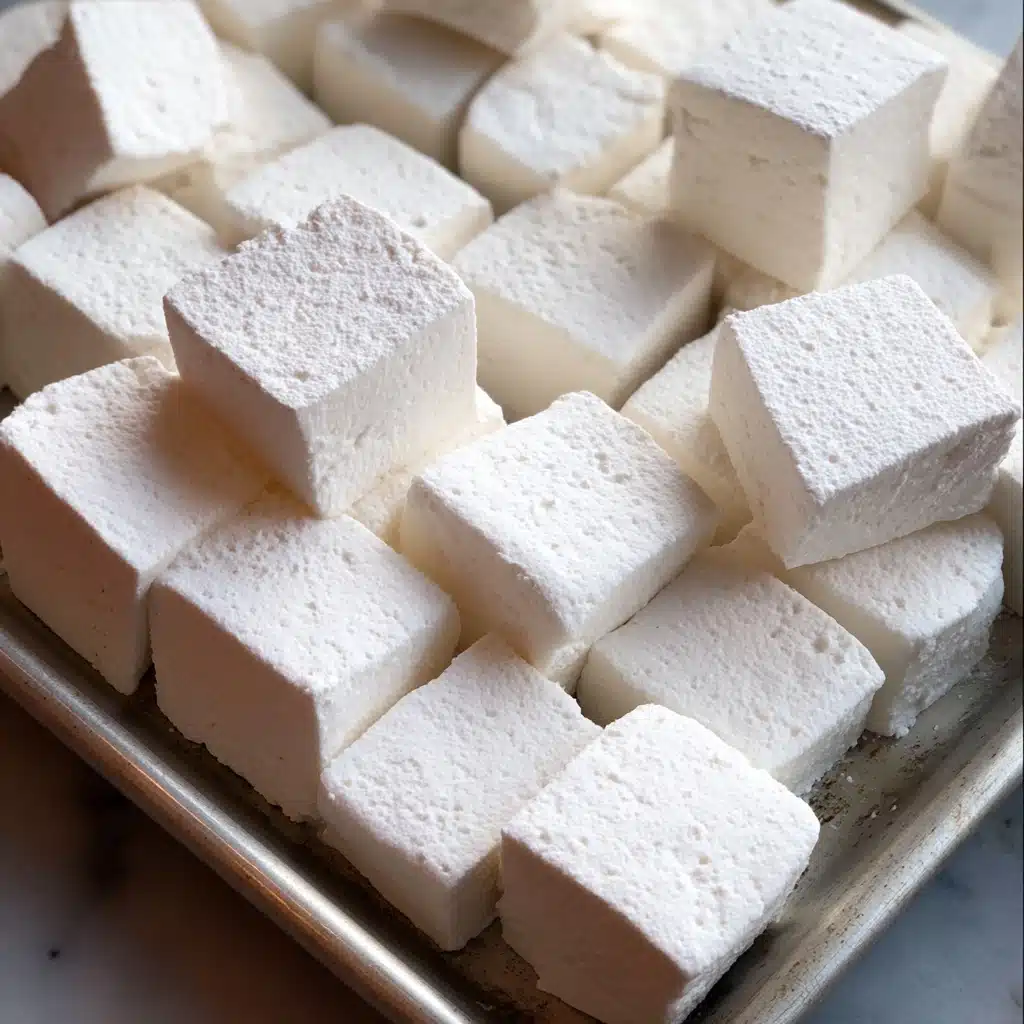
Step 8: Cut into Pillows
Lift the marshmallow slab from the pan using the parchment handles. Place it onto a cutting board, sprinkle the top with arrowroot starch or powdered sugar to prevent sticking, and slice into 2-inch squares using your sharpest knife. Dust all exposed sides to keep each marshmallow pillowy and easy to handle.
How to Serve Homemade Maple Marshmallows
Garnishes
A dusting of cinnamon, cocoa powder, or even a drizzle of melted dark chocolate instantly elevates these Homemade Maple Marshmallows. Try sprinkling a little flaky sea salt on top if you enjoy a salty-sweet combo—it brings out the maple’s richness beautifully.
Side Dishes
Pair your marshmallows with a mug of hot cocoa, a cozy latte, or a glass of chilled milk. They also make an amazing topper for sweet potato casserole or roasted pumpkin, adding a gourmet twist to comforting dishes.
Creative Ways to Present
Stack Homemade Maple Marshmallows in clear cellophane bags with a handwritten tag for an adorable homemade gift. You can also skewer them for a s’mores party centerpiece, or cut them into fun shapes with cookie cutters for holidays and celebrations.
Make Ahead and Storage
Storing Leftovers
Keep your Homemade Maple Marshmallows in an airtight container at room temperature. Layer them with parchment or wax paper to keep them separate and soft. They’ll stay plush and chewy for up to one week, making them perfect for batch treats and snacks.
Freezing
If you want to freeze Homemade Maple Marshmallows, arrange them in a single layer in a freezer-safe container with parchment between layers. When sealed well, they’ll last for about 2 months. Thaw at room temperature before serving—no microwaving needed.
Reheating
Marshmallows don’t really require reheating, but if you want to toast them, simply skewer and roast gently over a gas flame or campfire for that golden, caramelized exterior. Otherwise, enjoy them straight from the container or added to your favorite drinks or desserts.
FAQs
Do I need a stand mixer to make Homemade Maple Marshmallows?
Absolutely—a stand mixer makes the whipping process effortless and gives you perfectly fluffy marshmallows. A hand mixer could work if you’re patient, but a stand mixer is much easier and safer with hot syrup.
Can I substitute another syrup for the maple syrup?
The maple syrup is what gives these marshmallows their distinctive flavor. You could try honey or agave for a twist, but it won’t quite taste like Homemade Maple Marshmallows.
How do I keep the marshmallows from sticking to everything?
Dusting generously with arrowroot starch or powdered sugar is key. Make sure each square is coated on all sides after cutting, and use parchment paper when storing.
Can I add other flavors to this recipe?
Yes! Fold in spices like cinnamon or nutmeg, or swirl in melted chocolate or fruit puree after whipping for a signature Homemade Maple Marshmallows variation.
What if my marshmallow mixture sets too quickly?
That can happen if the syrup is a little too hot or you over-whip. It’s all about moving swiftly and scraping into the pan as soon as you’re done, so have everything prepped in advance.
Final Thoughts
I hope you’re as excited to whip up a batch of Homemade Maple Marshmallows as I am to share them! They’re simple, fun, and unbelievably delicious. I guarantee once you try these, you’ll never see store-bought marshmallows the same way again—give these maple clouds a try and let your kitchen fill with joy!
Print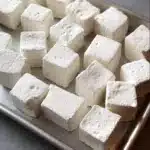
Homemade Maple Marshmallows Recipe
- Total Time: 4 hours 50 minutes
- Yield: About 16 marshmallows 1x
- Diet: Vegetarian
Description
Learn how to make these delightful Homemade Maple Marshmallows that are perfect for snacking, hot cocoa, or gifting. They’re fluffy, sweet, and bursting with maple flavor!
Ingredients
For the Marshmallows:
- 1 cup cold water
- 2 1/2 tablespoons powdered gelatin
- 1 1/4 cups maple syrup
- 1/8 teaspoon sea salt
- 1 teaspoon vanilla paste, vanilla extract, or seeds from 1 vanilla bean
For Dusting:
- Arrowroot starch or powdered sugar
Instructions
- Prepare the Pan: Line an 8-inch square pan with parchment paper, ensuring it covers all sides. Lightly sprinkle with arrowroot starch or powdered sugar.
- Bloom the Gelatin: In the stand mixer bowl, hydrate gelatin in 1/2 cup cold water.
- Make the Syrup: Combine 1/2 cup water, maple syrup, and salt in a saucepan. Boil to 242°F without stirring.
- Mixing: Slowly pour hot syrup into the gelatin while mixing on low. Add vanilla.
- Whip: Increase speed gradually until mixture lightens in color and triples in volume.
- Set: Transfer marshmallow mixture to the prepared pan. Let it sit for 4 hours at room temperature.
- Cut: Use starch-dusted knife to cut marshmallows into squares.
Notes
- Work quickly when pouring the syrup into the gelatin mixture.
- Use a sharp knife for clean cuts, dusted with starch to prevent sticking.
- Allow the marshmallows to set properly before cutting for best results.
- Prep Time: 30 minutes
- Cook Time: 20 minutes
- Category: Dessert
- Method: Mixing, Boiling
- Cuisine: American
Nutrition
- Serving Size: 1 marshmallow
- Calories: 70
- Sugar: 13g
- Sodium: 30mg
- Fat: 0g
- Saturated Fat: 0g
- Unsaturated Fat: 0g
- Trans Fat: 0g
- Carbohydrates: 16g
- Fiber: 0g
- Protein: 2g
- Cholesterol: 0mg
Keywords: Homemade marshmallows, Maple syrup recipe, Dessert recipe

