
Homemade Bread Recipe
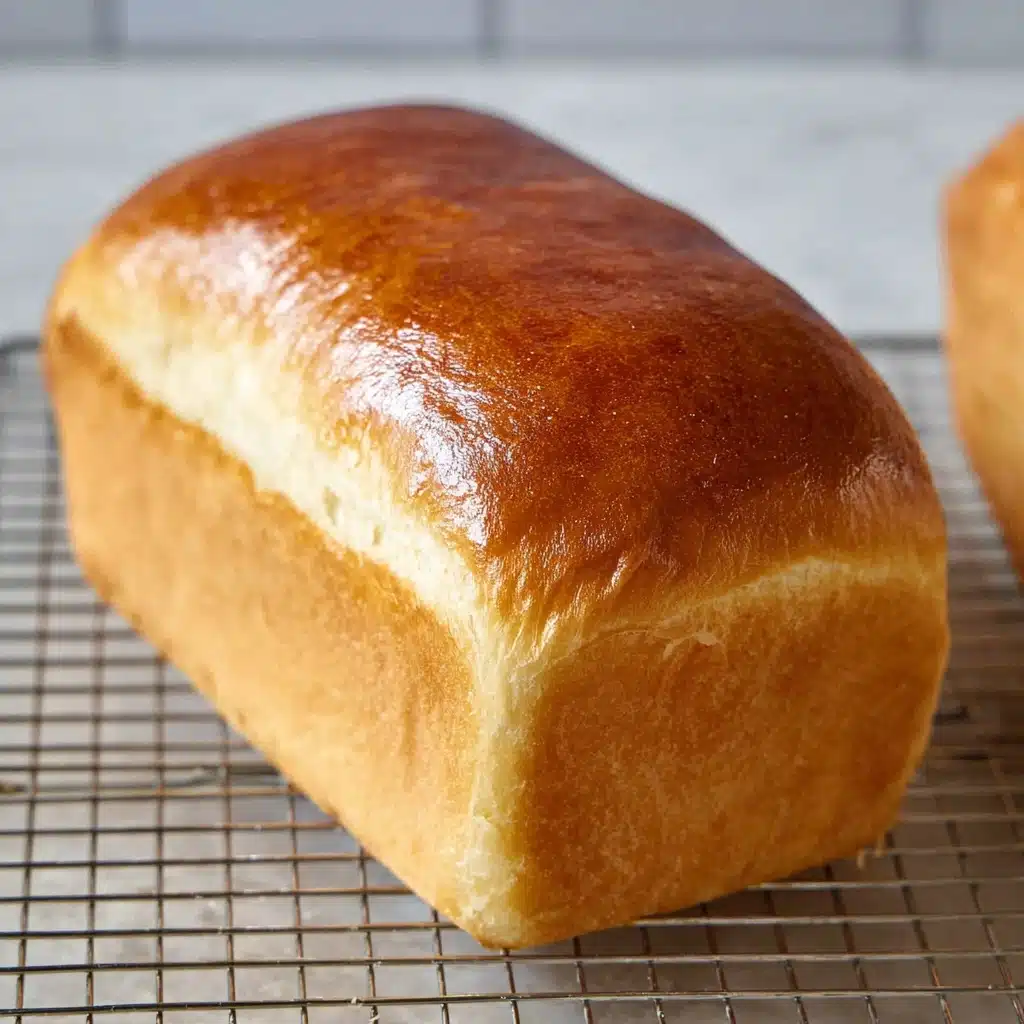
There’s just something magical about pulling a fresh, golden loaf of Homemade Bread from your own oven—the aroma is pure comfort, the first warm slice is irresistible, and every bite brings you a little closer to the heart of home. This recipe transforms a handful of kitchen staples into soft, flavorful loaves perfect for sandwiches, toast, or simply tearing and sharing. Whether you’re a first-time baker or a seasoned pro, Homemade Bread delivers unbeatable satisfaction and a delicious reason for everyone to gather at your table.

Ingredients You’ll Need
The beauty of Homemade Bread lies in its simplicity—all you need are a few everyday ingredients, each playing a vital role in building up the flavor, crumb, and color we all crave. Let’s peek inside your pantry and see what makes this loaf so special.
- Warm water: Helps activate the yeast and brings the dough together; aim for 105-115 degrees for best results.
- Active dry yeast: The magic leavener that gives your bread its lovely rise and airy texture.
- Honey or sugar: Feeds the yeast and adds a subtle sweetness—honey makes for a slightly deeper flavor.
- Salt: Brings out the flavors and keeps your bread from tasting bland.
- Oil (canola or vegetable): Adds tenderness and richness to the crumb.
- All-purpose or bread flour: The backbone of Homemade Bread; bread flour gives a bit more chew, while all-purpose turns out a softer loaf. Start with 4 cups and add more as needed.
How to Make Homemade Bread
Step 1: Proof the Yeast
Begin your Homemade Bread adventure by combining the yeast, warm water, and a pinch of sugar or honey in your largest bowl or the bowl of a stand mixer. Wait 5-10 minutes as the mixture becomes foamy and bubbly, which means your yeast is alive and ready to work its magic. If you don’t see bubbling, your yeast may be inactive—best to start fresh!
Step 2: Add Core Ingredients
Pour in the rest of your sugar or honey, the salt, oil, and 3 cups of flour. Mix everything together until you see a shaggy dough forming. Each addition helps build flavor and brings the dough one step closer to perfect bread.
Step 3: Build the Dough
Add another cup of flour and stir or mix. Then, with the mixer running or while kneading by hand, gradually add flour ½ cup at a time. Keep going until the dough pulls away from the sides of the bowl and feels smooth, elastic, and slightly tacky (it should stick just a little, but not too much). This part is all about finding that perfect dough consistency!
Step 4: Kneading
Work the dough by mixing with your stand mixer on medium speed for 4-5 minutes or by kneading energetically by hand on a lightly floured surface for about 5-8 minutes. The dough should become resilient and stretchy—this is where Homemade Bread gets its beautiful texture.
Step 5: First Rise
Place your dough into a greased bowl, rolling it around gently to coat all sides. Cover with a kitchen towel or plastic wrap and let the dough rise in a warm nook until it doubles in size, about 1 1/2 hours. Watching it puff up never gets old!
Step 6: Prepare the Pans
Spray two 9×5-inch bread pans with cooking spray, making sure every corner is greased. Lining the bottom with a bit of parchment isn’t required but makes removal extra easy.
Step 7: Shape the Loaves
After the first rise, punch down the dough to release the trapped air. Divide it evenly into two portions, shape each into a log, and nestle them into your prepared pans.
Step 8: The Second Rise
Cover the pans with a greased dish towel or plastic wrap and leave the dough to rise again, this time for about 45 minutes to one hour. You’re looking for the dough to rise about an inch above the rim of the pans. The anticipation is part of the homemade bread experience!
Step 9: Bake to Perfection
Preheat your oven to 350 F. Bake the loaves for 30-33 minutes, until the tops turn golden brown. A gentle tap should sound hollow, letting you know your Homemade Bread is baked through.
Step 10: Cool and Finish
Carefully turn the bread out onto a wire rack and brush the tops with butter for a glossy, flavorful finish. Let the loaves cool for at least 10 minutes before slicing—if you can wait that long!
Step 11: Store for Freshness
Once your Homemade Bread has cooled completely, store it in an airtight container or a plastic bag. It keeps wonderfully for several days at room temperature or a bit longer in the fridge.
How to Serve Homemade Bread
Garnishes
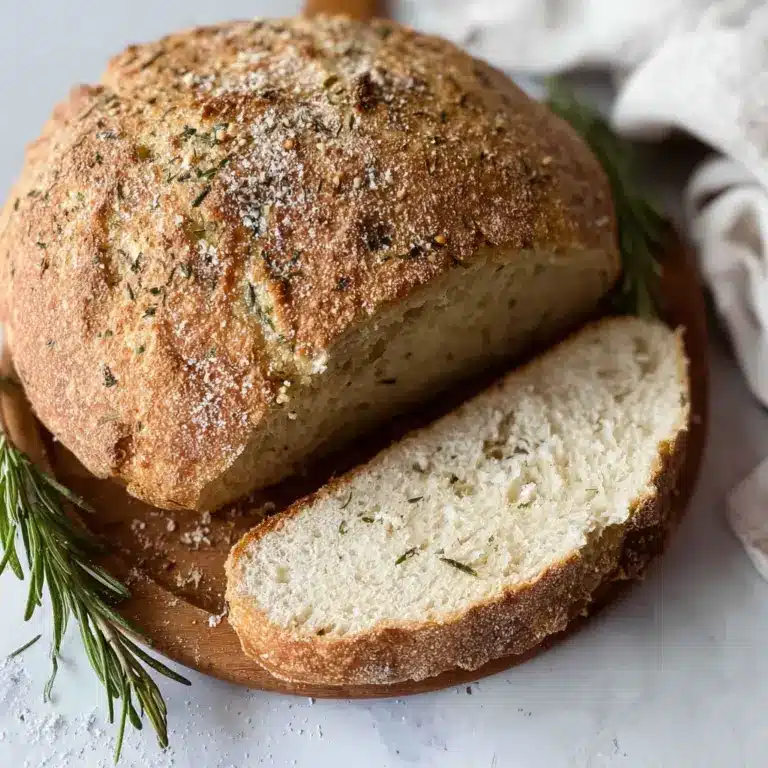
Dress up a slice with a pat of fresh butter, a light drizzle of honey, or your favorite fruit preserves. For a savory twist, try a sprinkle of flaky sea salt, roasted garlic, or even a few fresh herbs melted on top.
Side Dishes
Homemade Bread makes a perfect companion for just about any meal. Pair it with hearty soups, crisp salads, or a platter of cheese for something simple and satisfying. It’s also perfect for making classic sandwiches or scooping up that last spoonful of pasta sauce.
Creative Ways to Present
Turn simple slices into crostini or bruschetta, or cut thick slabs for French toast on a lazy weekend morning. Try tearing the loaf into rustic chunks and serving alongside dips and spreads for a beautiful appetizer board. The golden, fluffy texture makes every option a hit!
Make Ahead and Storage
Storing Leftovers
Keep your homemade bread loaves in an airtight container or a sealed plastic bag at room temperature for two to three days. If you plan to keep it longer, a spot in the refrigerator will help preserve freshness for up to five days.
Freezing
Homemade Bread freezes beautifully! Wrap whole loaves or individual slices tightly in plastic wrap, then tuck them into a freezer bag. They’ll taste fresh for up to three months—just thaw at room temperature when needed.
Reheating
To bring back that freshly baked warmth, pop slices in the toaster or wrap the loaf in foil and warm it in a low oven. For an irresistible treat, toast a slice right from the freezer and slather with butter.
FAQs
Can I use whole wheat flour in this recipe?
Absolutely! Swap up to half of the all-purpose or bread flour with whole wheat for a heartier loaf. Keep in mind, you might need a little extra water and the bread will be slightly denser.
Why didn’t my bread rise properly?
Usually, this means the yeast wasn’t active, the water was too hot or cold, or the rising environment was chilly. Make sure to proof your yeast and give the dough a cozy spot to rise for best results.
How can I tell if my homemade bread is fully baked?
A golden, well-browned top is a good sign, but the real secret is tapping the loaf—it should sound hollow. A thermometer inserted into the center should read around 190 F.
What’s the best way to make the crust softer?
Brushing the top with butter right after baking locks in moisture and gives a tender, flavorful crust that’s hard to resist.
Can I double the recipe?
Yes! This Homemade Bread recipe scales well. Just be sure to use a large enough bowl and divide the dough into more loaves or adjust pan sizes as needed.
Final Thoughts
There’s nothing quite like sharing a loaf of Homemade Bread you baked yourself—every crumb is a little celebration. Give it a try, enjoy the process, and watch how quickly it disappears from your table!
Print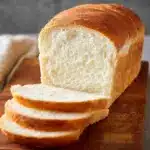
Homemade Bread Recipe
- Total Time: 3 hours
- Yield: 2 loaves 1x
- Diet: Vegetarian
Description
Learn how to make delicious homemade bread with this easy recipe. Perfect for sandwiches, toast, or simply enjoying warm with butter. This recipe yields two loaves of soft, fluffy bread that will fill your home with a wonderful aroma.
Ingredients
Dough:
- 2 cups warm water (474g)
- 1 Tablespoon active dry yeast
- 1/4 cup honey or sugar (85g honey, 50g sugar)
- 2 teaspoons salt
- 2 Tablespoons oil (30 ml)
- 4 – 5 1/2 cups all-purpose or bread flour (500g-688g)
Instructions
- Prepare the dough: In a large bowl or stand mixer, add the yeast, water, and a pinch of sugar or honey. Allow to rest for 5-10 minutes until foamy. Add remaining sugar or honey, salt, oil, and 3 cups of flour. Mix to combine.
- Add flour and mix: Add another cup of flour and mix. Gradually add more flour until the dough pulls away from the bowl’s sides.
- Knead the dough: Mix or knead for 4-5 minutes until smooth and elastic.
- First Rise: Allow the dough to double in size, about 1 1/2 hours.
- Prepare pans: Grease loaf pans and divide the dough into two portions. Shape into loaves and place in pans.
- Second rise: Cover and let rise for 45 minutes to 1 hour, until 1 inch above the pans.
- Bake: Preheat oven to 350 F. Bake for 30-33 minutes until golden brown. Cool, then store.
Notes
- You can customize this recipe by adding seeds, nuts, or dried fruits to the dough.
- For a richer flavor, you can brush the tops of the loaves with an egg wash before baking.
- Prep Time: 20 minutes
- Cook Time: 30 minutes
- Category: Bread
- Method: Baking
- Cuisine: Any
Nutrition
- Serving Size: 1 slice (45g)
- Calories: 130
- Sugar: 2g
- Sodium: 190mg
- Fat: 2g
- Saturated Fat: 0.3g
- Unsaturated Fat: 1.5g
- Trans Fat: 0g
- Carbohydrates: 24g
- Fiber: 1g
- Protein: 3g
- Cholesterol: 0mg
Keywords: Homemade bread, Bread recipe, Baking, Loaf bread


