
Bunny Oreo Balls Recipe
Introduction
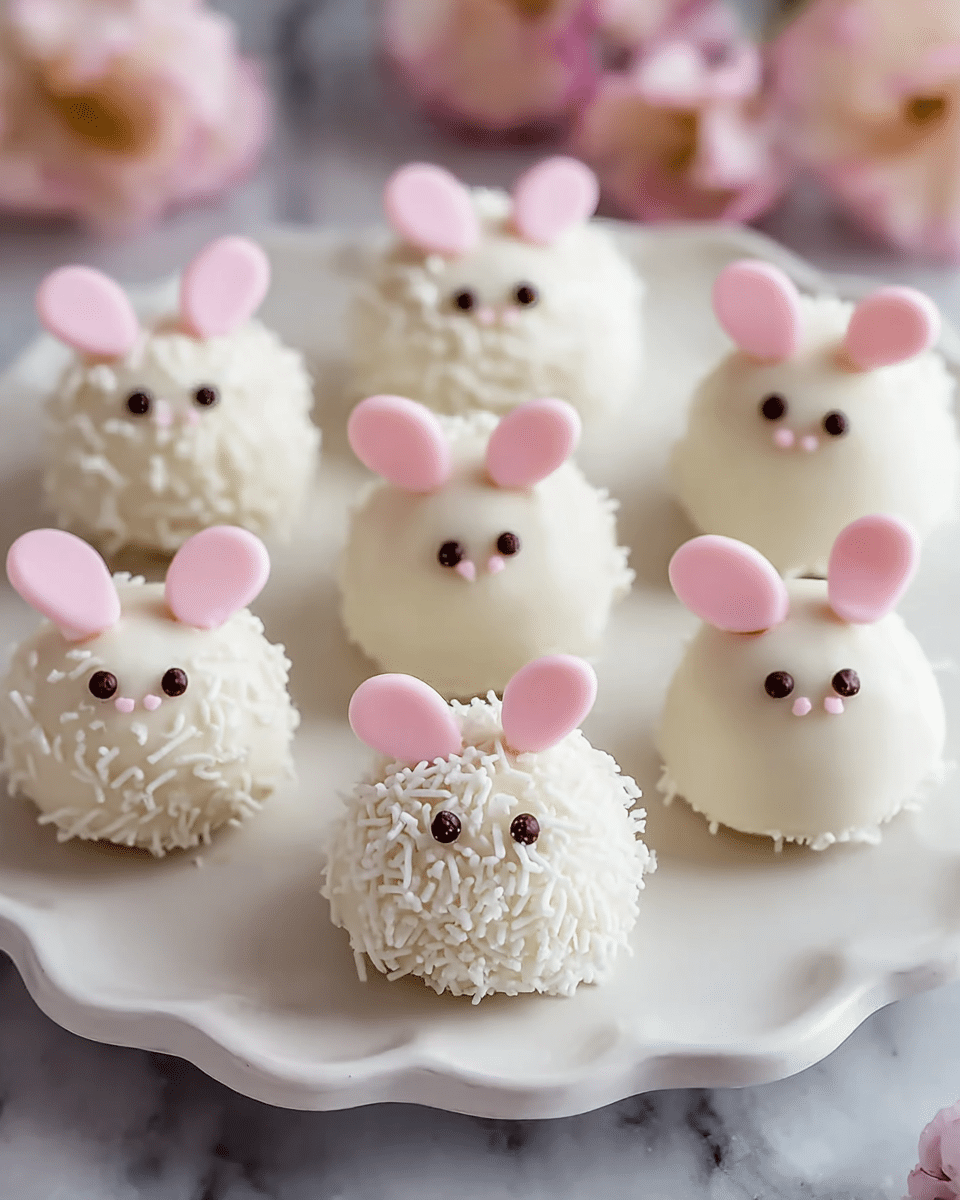
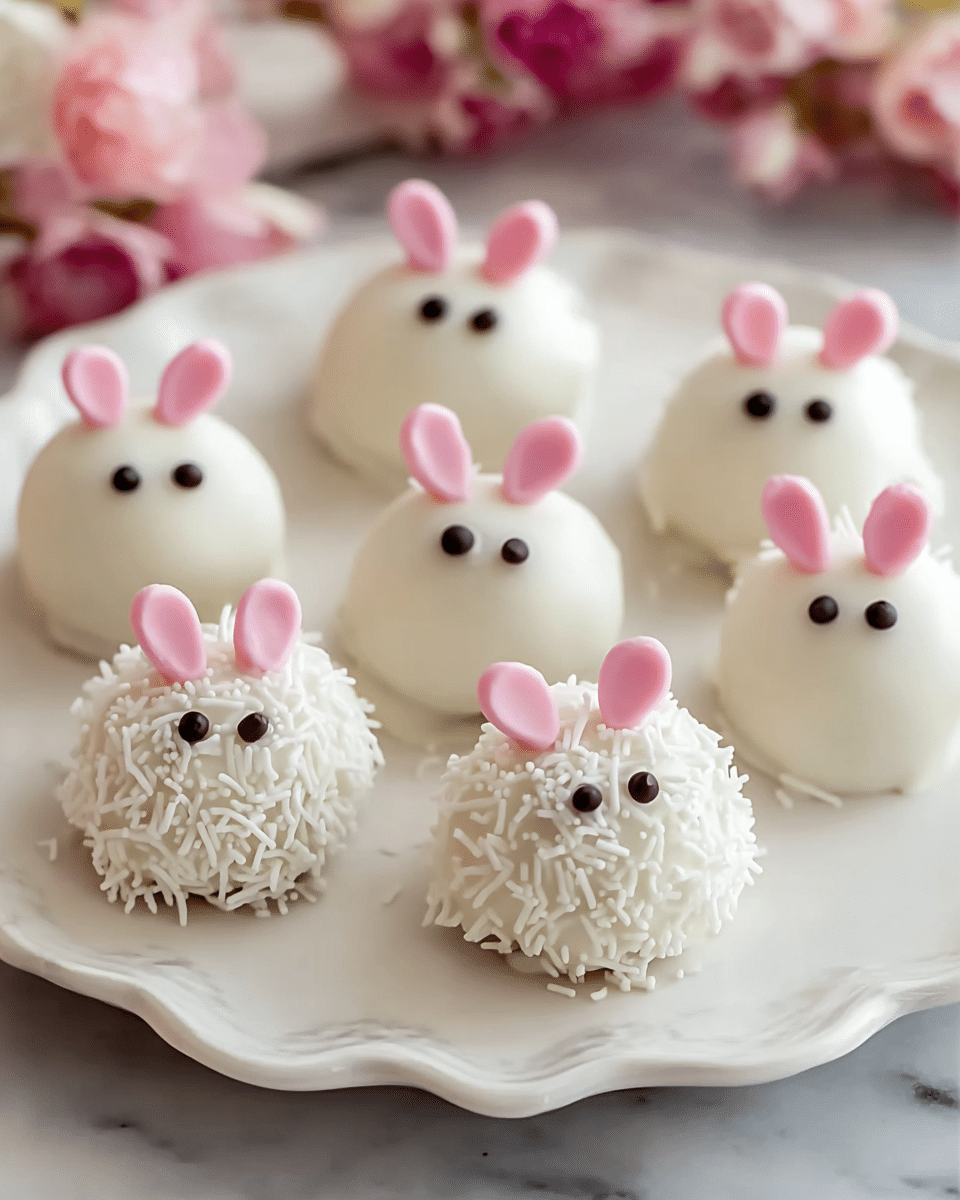
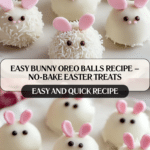
Bunny Oreo Balls are an adorable and delicious no-bake treat perfect for Easter or any festive occasion. These bite-sized truffles combine a creamy Oreo filling with a smooth chocolate shell, decorated to look like cute bunnies. They’re easy to make and fun for all ages.
Ingredients
- 1 package (14.3 oz) Oreo cookies
- 8 oz cream cheese, softened
- 12 oz white chocolate or candy melts
- 1/2 cup pink candy melts
- 1/2 cup black candy melts
- Mini marshmallows (for bunny ears)
- Pink sugar sprinkles (optional for decoration)
- Edible food marker (black for facial details)
Instructions
- Step 1: Crush the Oreo cookies into fine crumbs using a food processor or by placing them in a sealed plastic bag and crushing with a rolling pin. In a mixing bowl, combine the crushed Oreos with softened cream cheese and mix until fully incorporated and dough-like.
- Step 2: Roll the mixture into small balls about 1 inch in diameter. Place them on a parchment-lined baking sheet and refrigerate for 30 minutes to firm up.
- Step 3: Melt the white chocolate or candy melts in a microwave-safe bowl, stirring every 20 seconds until smooth. Dip each Oreo ball into the melted chocolate using a fork or dipping tool, coating evenly. Place back on the parchment paper to set.
- Step 4: Cut mini marshmallows diagonally and dip the sticky side into pink sugar sprinkles to form bunny ears. Attach the ears to the Oreo balls while the chocolate coating is still slightly wet.
- Step 5: Melt the pink and black candy melts separately. Use a piping bag or toothpick to add the bunny’s nose and whiskers. Use an edible food marker or melted black chocolate to draw eyes.
- Step 6: Allow all decorations to set completely before serving.
Tips & Variations
- Use softened cream cheese at room temperature for a smooth mixture without lumps.
- Refrigerate the mixture before shaping to help maintain the balls’ shape during dipping.
- For easier chocolate dipping, thin melted chocolate with a teaspoon of coconut oil or shortening.
- Experiment with decorations: add candy eyes, shredded coconut for tails, or different colored candy melts for variety.
- For a lower-sugar option, try reduced-sugar Oreos and dark chocolate instead of white chocolate.
- Make dairy-free versions by substituting cream cheese and chocolate with dairy-free alternatives.
- Use gluten-free Oreos to accommodate gluten sensitivities.
Storage
Store Bunny Oreo Balls in an airtight container in the refrigerator for up to 5 days. For longer storage, freeze them in a sealed container for up to 2 months; allow to sit at room temperature for a few minutes before serving. They taste best when slightly chilled but not completely frozen.
How to Serve
Serve this delicious recipe with your favorite sides.
FAQs
Can I use a different type of chocolate instead of white chocolate?
Yes, you can substitute white chocolate with milk or dark chocolate if you prefer. Just ensure it melts smoothly for coating and decorations.
How do I prevent the Oreo balls from falling apart when dipping in chocolate?
Chilling the Oreo mixture balls for at least 30 minutes before dipping helps them firm up and hold their shape better. Using a fork or dipping tool carefully also minimizes breakage.
Print
Bunny Oreo Balls Recipe
- Total Time: 45 minutes
- Yield: Approximately 24 balls 1x
Description
Bunny Oreo Balls are adorable no-bake truffles perfect for Easter or festive occasions. They combine crushed Oreo cookies and cream cheese for a creamy filling, coated in white chocolate and decorated with marshmallows and candy melts to resemble cute bunnies. Easy to make and fun to decorate, these treats offer a delightful chocolate and cream cheese flavor that’s perfect for holiday celebrations.
Ingredients
Main Ingredients
- 1 package (14.3 oz) Oreo cookies
- 8 oz cream cheese, softened
Coating & Decoration
- 12 oz white chocolate or white candy melts
- 1/2 cup pink candy melts
- 1/2 cup black candy melts
- Mini marshmallows (for bunny ears)
- Pink sugar sprinkles (optional for decoration)
- Edible black food marker (for facial details)
Instructions
- Prepare the Oreo Mixture: Crush the Oreo cookies into fine crumbs using a food processor or place them in a sealed plastic bag and crush with a rolling pin. In a mixing bowl, combine the crushed Oreos and softened cream cheese. Mix thoroughly until a smooth, dough-like consistency forms.
- Shape the Balls: Roll the Oreo and cream cheese mixture into small balls about 1 inch in diameter. Place the balls on a parchment-lined baking sheet and refrigerate for 30 minutes to firm up and hold their shape.
- Coat with Chocolate: Melt the white chocolate or candy melts in a microwave-safe bowl, stirring every 20 seconds until smooth. Using a fork or dipping tool, dip each Oreo ball into the melted chocolate ensuring a full, even coating. Place the coated balls back on the parchment paper to set.
- Decorate as Bunnies: Cut mini marshmallows diagonally and dip the sticky side into pink sugar sprinkles to create the bunny ears. Attach the ears to the Oreo balls while the chocolate coating is still slightly wet. Separately melt the pink and black candy melts and use a piping bag or toothpick to create bunny noses and whiskers. Use the edible black food marker to draw the eyes or pipe them with melted black candy melt.
- Final Touches: Allow all decorations to fully set before serving. Store the finished Bunny Oreo Balls in an airtight container in the refrigerator for up to 5 days.
Notes
- Use room temperature cream cheese for smooth mixing without lumps.
- Chill the Oreo mixture before rolling to make shaping easier.
- Choose high-quality white chocolate for a smooth coating; thin with a teaspoon of coconut oil if needed.
- Get creative with decorations, adding candy eyes or shredded coconut tails if desired.
- Allow enough time for chocolate and decorations to fully set to avoid smudging.
- Store in the refrigerator for up to 5 days or freeze for longer storage.
- Prep Time: 15 minutes
- Cook Time: 0 minutes
- Category: Dessert
- Method: No-Cook
- Cuisine: American
Keywords: Oreo balls,Easter dessert,no-bake truffles,bunny candy treats,chocolate truffles,holiday treats,cream cheese truffles

